Windows Voice Recorder
Windows Voice Recorder is a simple, easy to use tool built into the Windows 10 operating systems to record audio. It is a great tool that you can use to record and save audio right onto your computer for use in an audio presentation or similar task. Similarly, Windows 8 and 7 utilized a similar tool called Sound Recorder.
To learn how to utilize these tools, choose the one that corresponds to your operating system.
Windows Voice Recorder (Windows 10)
Windows Sound Recorder
Windows Voice Recorder
1. To open Voice Recorder, open the Start menu and type "Voice Recorder."
2. Press "Enter" to open a window like the one shown below.
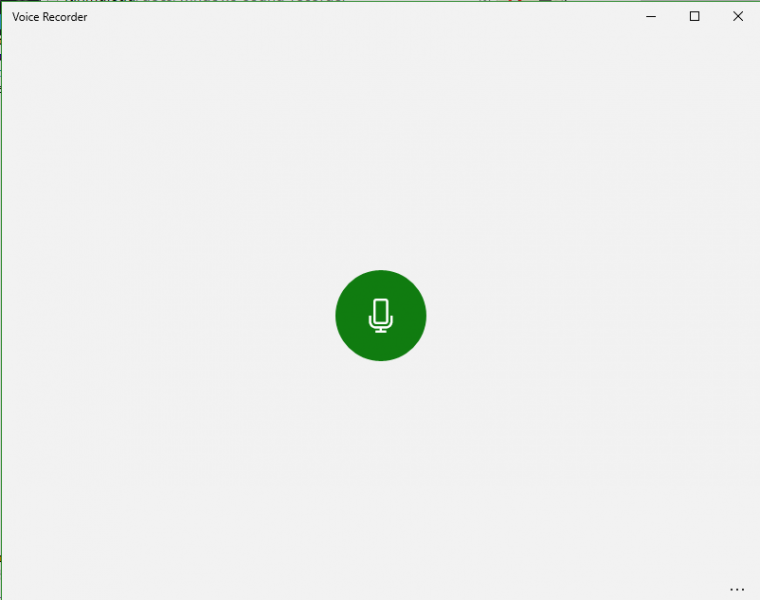
3. Record sound by clicking the circle in the center.
4. Pause the recording by clicking the smaller buttion containing the pause icon.
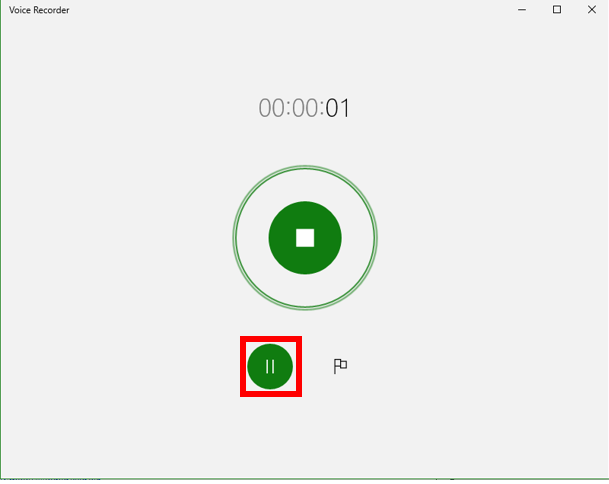
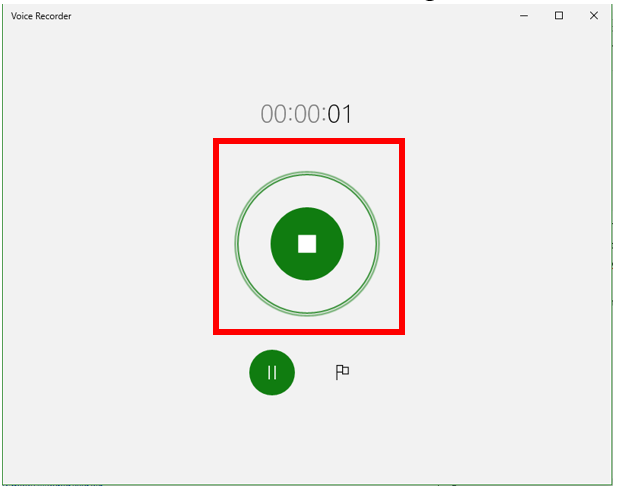
5. Stop the recording by pressing the circle in the center which contains the square stop icon.
2. Press "Enter" to open a window like the one shown below.

3. Record sound by clicking the circle in the center.
4. Pause the recording by clicking the smaller buttion containing the pause icon.

5. Stop the recording by pressing the circle in the center which contains the square stop icon.

- The program will automatically save your sound file in a subfolder of your Documents folder called Sound Recordings when you stop recording.
6. To further edit your sound clip, utilize the options at the bottom right of the voice recorder window.
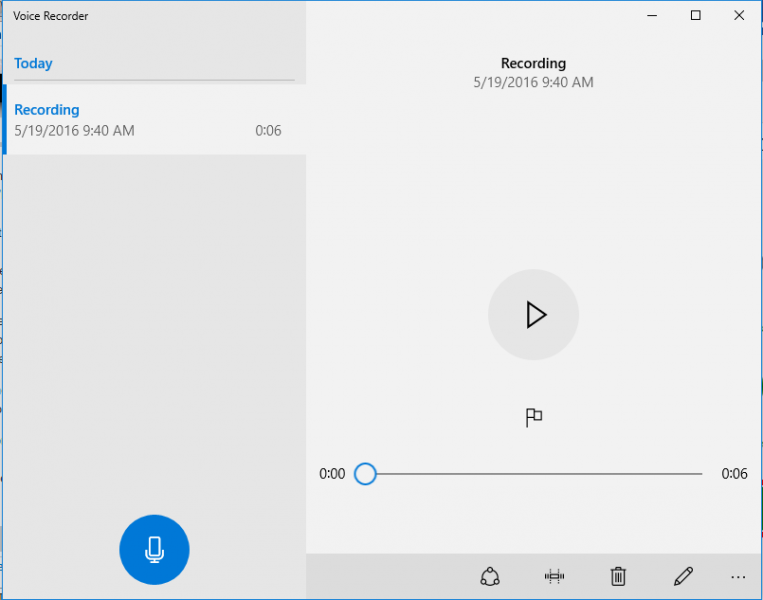

- From left to right, these options are Share, Trim, and Delete. In the lower left of the screen, another icon opens settings and feedback.
Windows Sound Recorder
Windows Sound Recorder has a default to record for only sixty (60) seconds. If you want to record more than the limit you may want to use an alternative program like Audacity.
1. To open Sound Recorder, click on the "Start Menu" in the lower left hand corner of your screen. In the search bar, type "Sound Recorder."
- This should open the small window like the one shown below

2. Click "Start Recording" to begin recording sound.
3. When you've finished recording or want to stop, press "Stop Recording". You can press "Resume Recording" if you'd like to continue again.
4. Whenever you click "Stop Recording," a "Save As" button will appear.
3. When you've finished recording or want to stop, press "Stop Recording". You can press "Resume Recording" if you'd like to continue again.
4. Whenever you click "Stop Recording," a "Save As" button will appear.
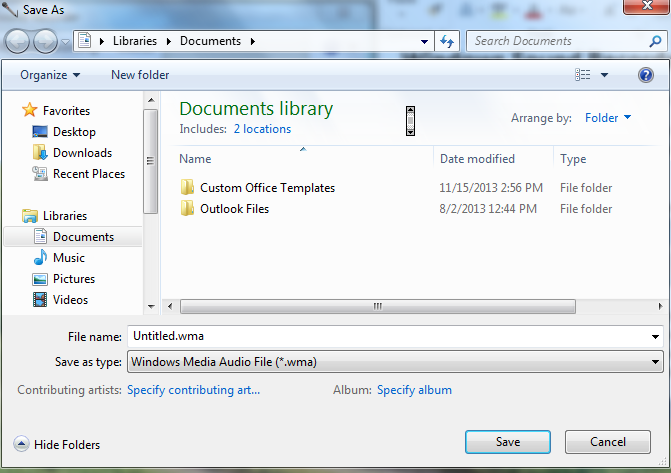
5. When you are ready, first save the file by clicking "Save As" and navigating to the location where you'd like it sotred. Enter a file name and then press "Enter".
Rate this Article:
