Install Cisco AnyConnect VPN Client [macOS]
Accessing some NMU resources such as department drives, financial services, and more require an on campus internet connection. If you need to access these resources on your home or other non-NMU network, you will need to a VPN connection. VPN is short for Virtual Private Network. A VPN can encrypt and send your internet connection directly to the NMU servers, simulating an on campus internet connection. The instructions below will show you how to set up the Cisco AnyConnect VPN Client to access NMU internet.
If you already have the Cisco VPN client installed and just need to connect, click here.
Installing The Cisco VPN
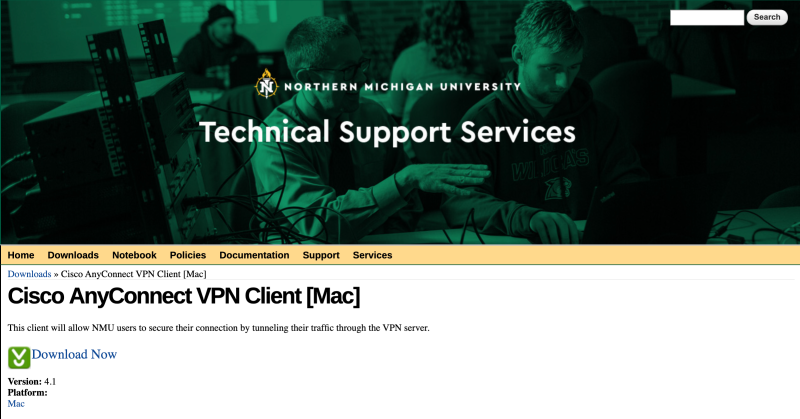
1. Using your internet browser (Firefox, Chrome, Edge, etc.), open the https://it.nmu.edu/downloads/cisco-anyconnect-vpn-client-mac page or click here.
Click the “Download Now” link.
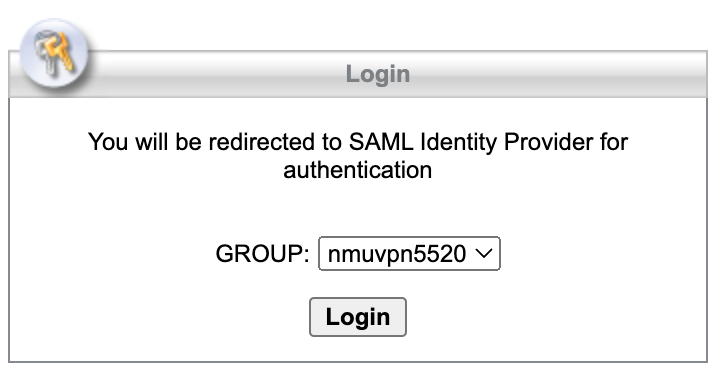
2. Click the “Login” button.
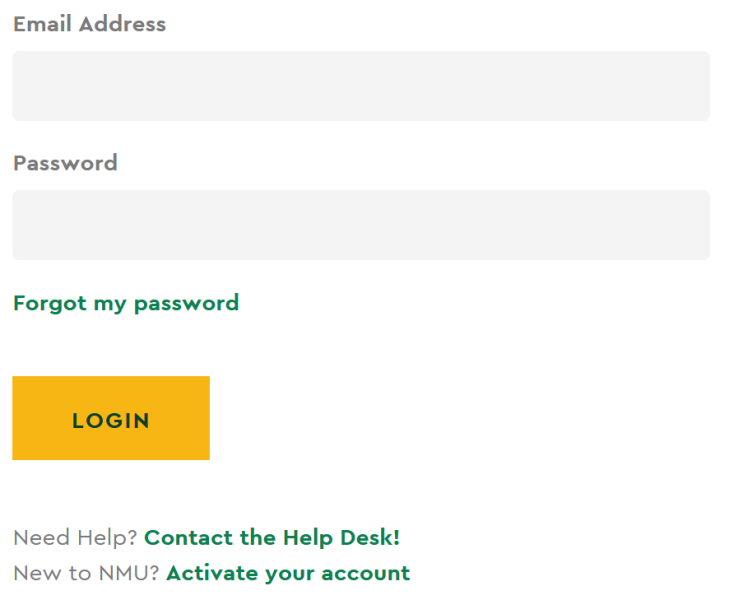
3. This will bring you to the NMU Login page where you sign in with your NMU credentials.
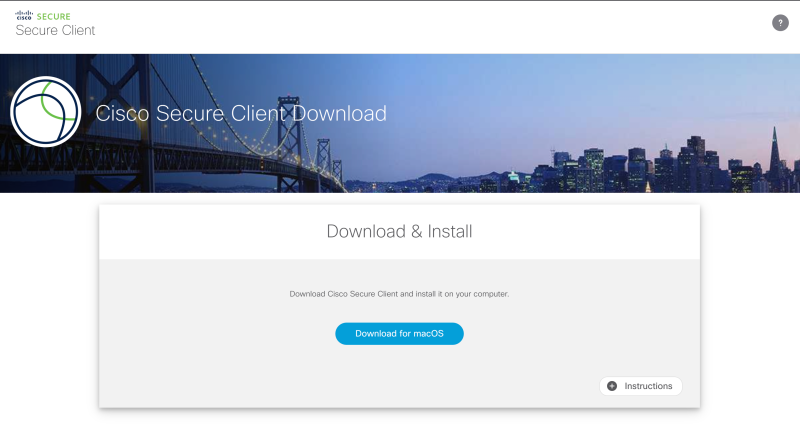
4. Click the blue "Download for macOS" button.
5. Check the finder's Download folder to find the installer. Double click the InstallAssistant.pkg file to run it.
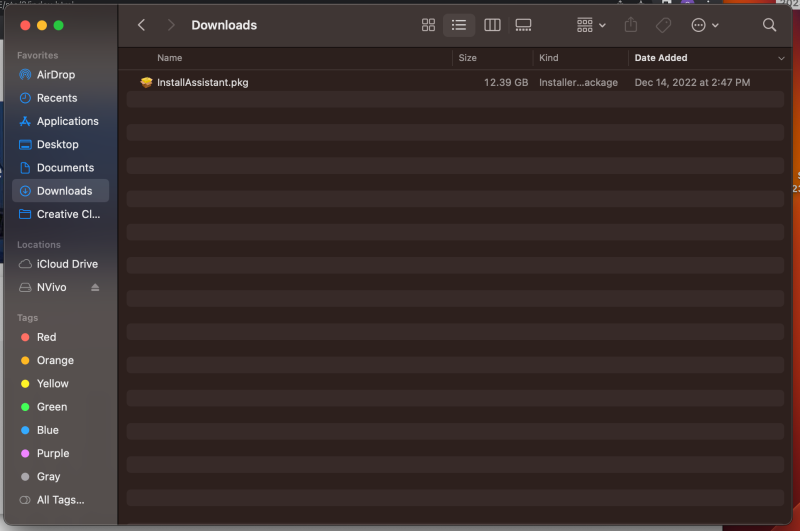
7. For each page of the installer, click the buttons “Continue”, “Continue”, “Agree”, then “Install”.
8. You should be prompted to login with your computer login password. Once you continue the program will then install.
9. After the program says "The instillation was successful", click the "Close" button.
Connecting and Disconnecting from the Cisco VPN
1. Press the magnifying glass symbol in the top right corner of the screen.
2. This will bring up the Spotlight Search. Type in "Cisco" and press enter.

3. The AnyConnect Secure Mobility Client window will pop up. Make sure the box contains “nmuvpn.nmu.edu” as shown below. If you are connecting, the click the "Connect" button and you'll be brought to the NMU login page again.If you are disconnecting, click the "Disconnect" button and exit the window.
4. If you are connecting, enter your NMU login credentials.


