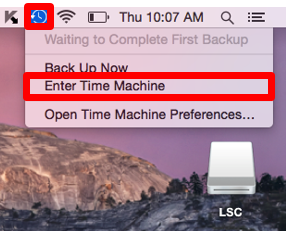
Time Machine for Backing up your Mac
Time Machine is the built-in backup that works with your Mac and an external drive. Connect the drive, assign it to Time machine and start enjoying some peace of mind. Time Machine automatically backs up your entire Mac, including system files, accounts, preferences, music, photos, movies and documents. The great advantage of using Time Machine on a Mac is that it not only keeps a spare copy of every file, it remembers how your system looked on at any given day, so you can revisit your Mac as it appeared in the past. After you set it up, Time Machine backs up your computer every hour without any more effort on your part.
Time Machine will only back up your computer when you are connected to your power adapter.
Depending on your Time Machine settings, it will keep an hourly back up for the past 24 hours, daily backups for the past month, or weekly backups for all prior months. When space is low on your external hard drive, the oldest backups are deleted to free up space.
Set Up Time Machine
Extra Configurations
Restore Files from Time Machine
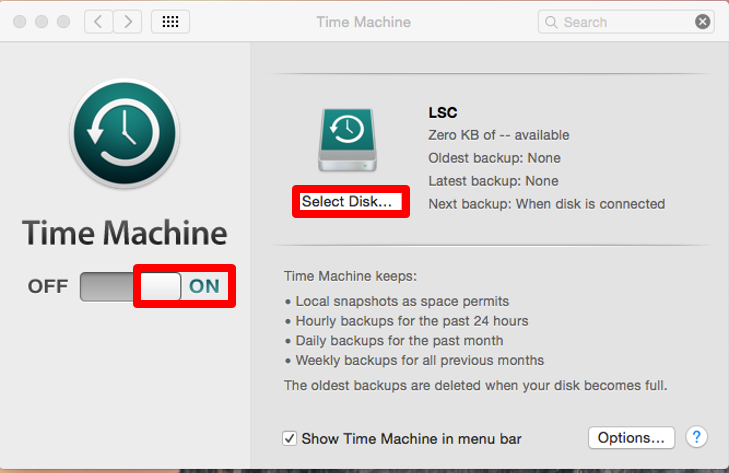
Set Up Time Machine
1. Plug your external hard drive into your computer
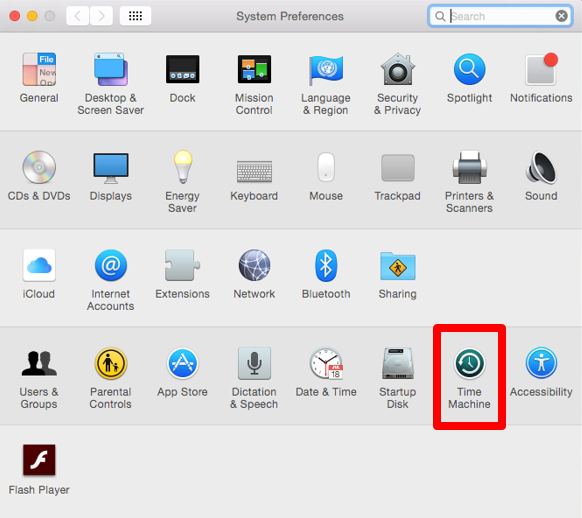
2. Open "System Preferences" by clicking on the
 apple icon in the top left corner of your desktop.
Extra Configurations
Exclude Items from Backup

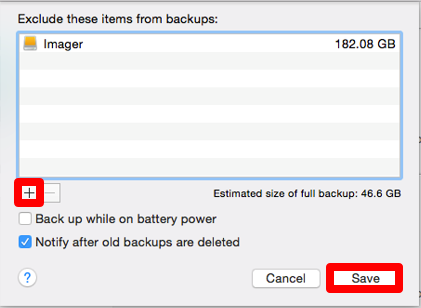
Note: You may add applications to the exclusions list because if you were to get your computer reimaged there would be conflicts with the applications that had been backed up.
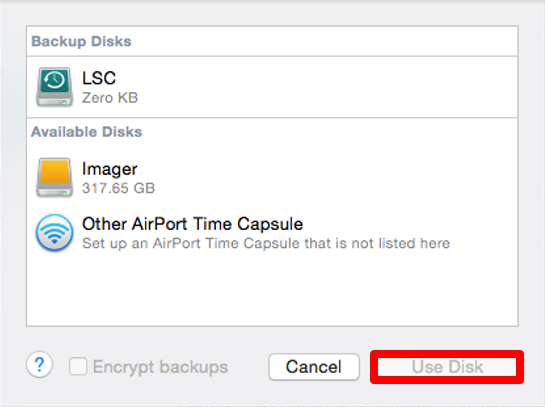
Add Another Hard Drive for Backups
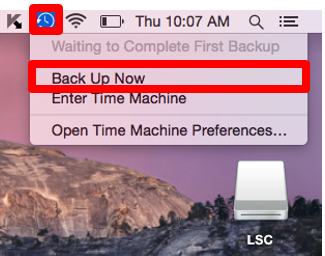
Force Backup
Restore Files from Time Machine
