
Adding a gmail account to Outlook using IMAP
Microsoft Windows uses Outlook as the default email client. The “Send To, Mail recipient” feature in Windows and the Microsoft Word mail merge to email feature will not work unless Outlook is setup to use your NMU G Suite gmail account via IMAP using the instructions referenced on this page or the instructions for Setting up Outlook to send mail using the NMU Mail Gateway. This is true even if you set up gmail as your default email client.
Adding a gmail account to Outlook using IMAP will give you access to your gmail messages and labels but not your Google calendar or contacts. Any messages sent will show up in your "Sent" label associated with the gmail account and when your gmail account is accessed from browsers and other devices.
1. Before you set up Outlook you need to assure IMAP access has been turned on in your gmail settings. See “Read Gmail messages on other email clients using IMAP”.
2. You will need to allow less secure apps to use your account by changing a gmail setting available here.
3. In addition, if you are using Google 2-step-verification you may need to set up a unique Google app password that will be used with Outlook. See “Sign in using App Passwords”. This is a unique password you will later need to enter into the Outlook settings.
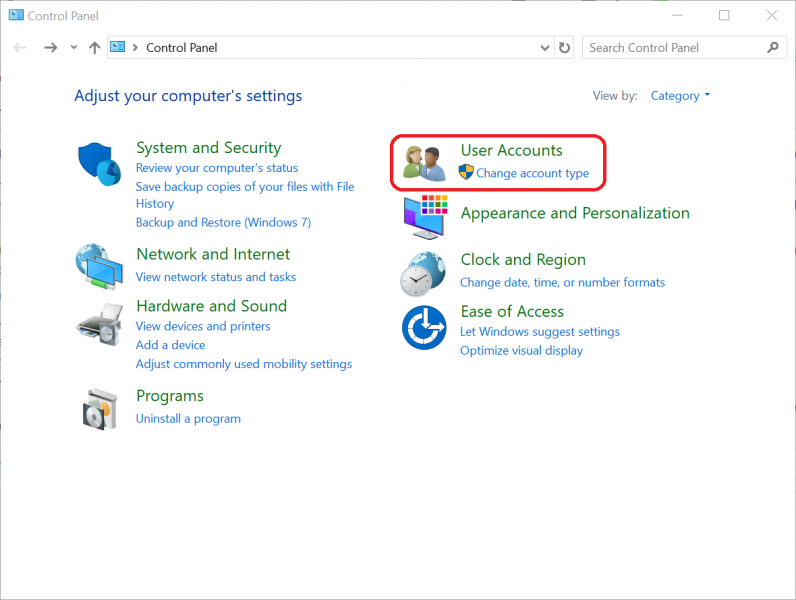
4. To set up Outlook go to the Windows start menu enter “Control Panel” in the search field and select “Control Panel” from the results.

5. Click on “User Accounts”.
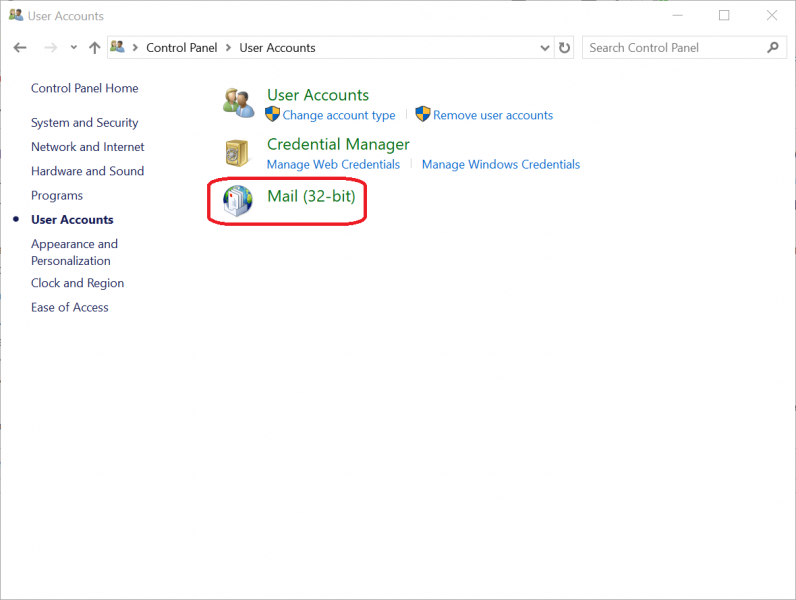
6. Click on “Mail (32-bit)”.
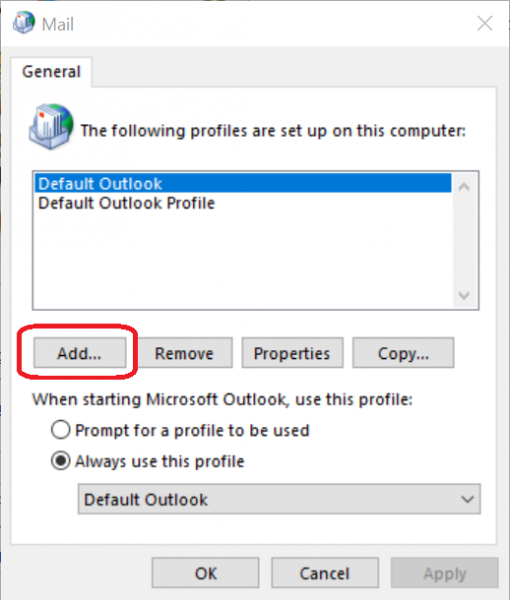
7. Click the “Show Profiles” button.

8. Click the “Add” button.
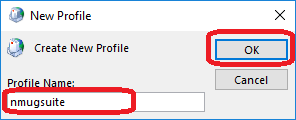
9. In the profile name field type “nmugsuite” and click “OK”.
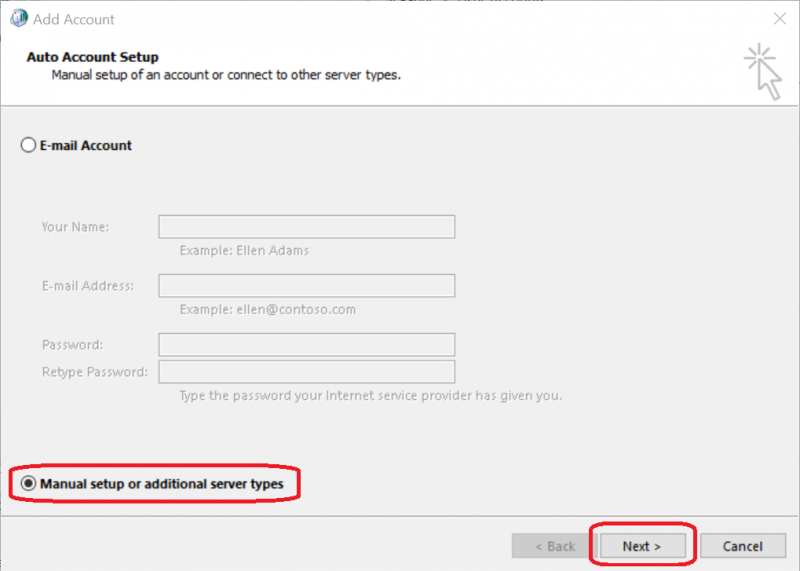
10. Click the “Manual setup or additional server types” button and click “Next”.
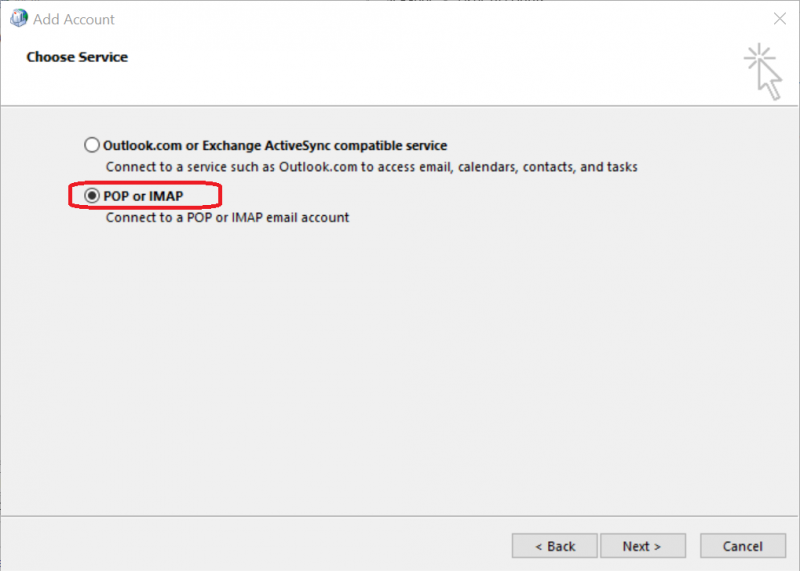
11. Click the “POP or IMAP” option and click “Next”.
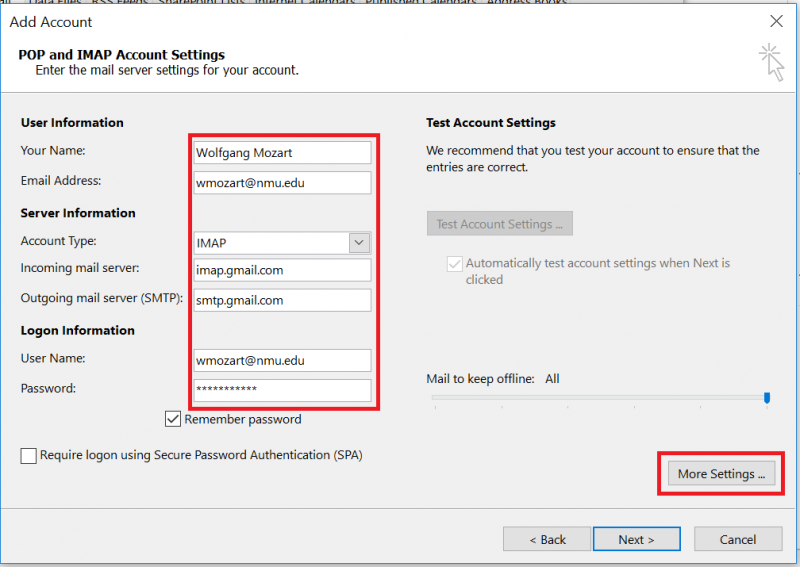
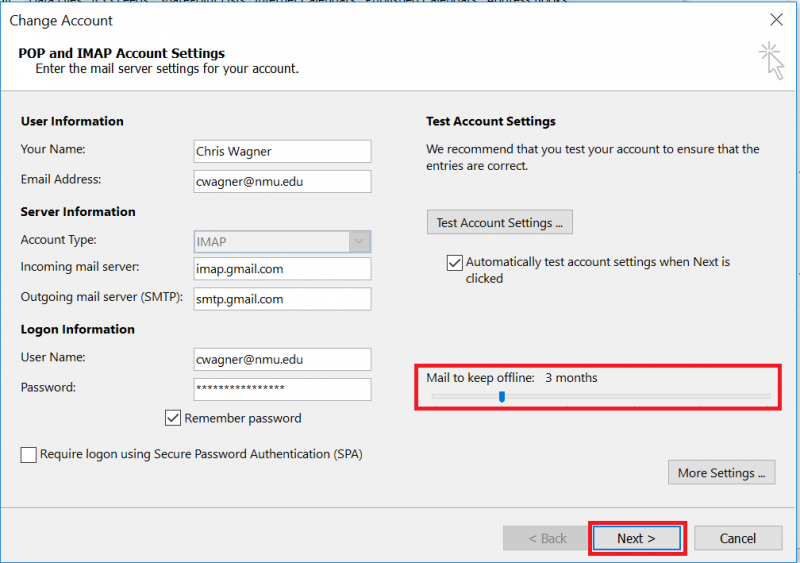
12. Fill in fields as in the example below set the Account Type: “IMAP”, Incoming mail server: “imap.gmail.com”, Outgoing mail server (SMTP): “semail.nmu.edu, User Name: “yourID@nmu.edu”and Password: your NMU password or the App Password created earlier if using Google 2-step-verification. Click the “More Settings” button.
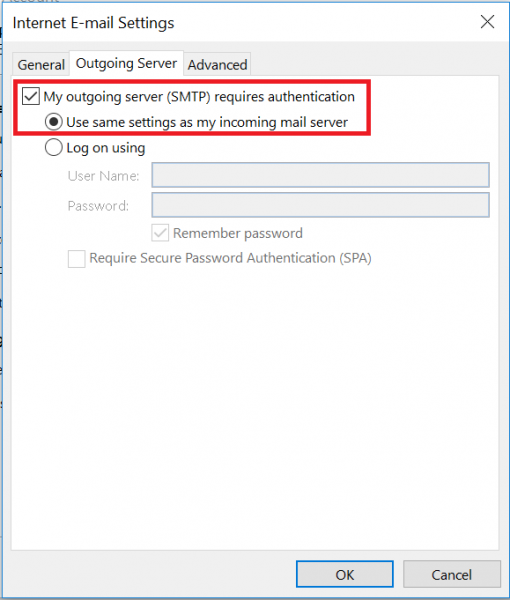
13. Click the “Outgoing Server” tab. Check the “My outgoing server (SMTP) requires authentication” check box and “Use same settings as my incoming server” button.
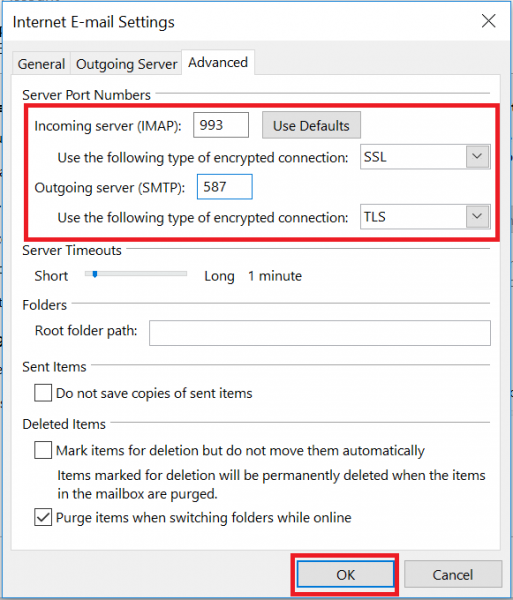
14. Click the “Advanced” tab and set “Use the following type of encrypted connection:” to “SSL”. The “Incoming server (IMAP):” should default to port “993”. Set the “Outgoing server (SMTP):” to port “587”. Set the second “Use the following type of encrypted connection:” to “TLS”. Click “OK”.
15. Change the “Mail to keep offline:” cache slide control to “3 months” or “6 months”. This limits how much of your gmail content is kept offline on your computer’s hard drive.
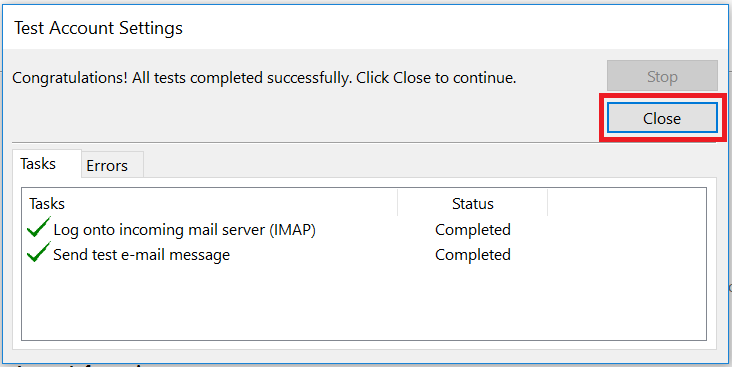
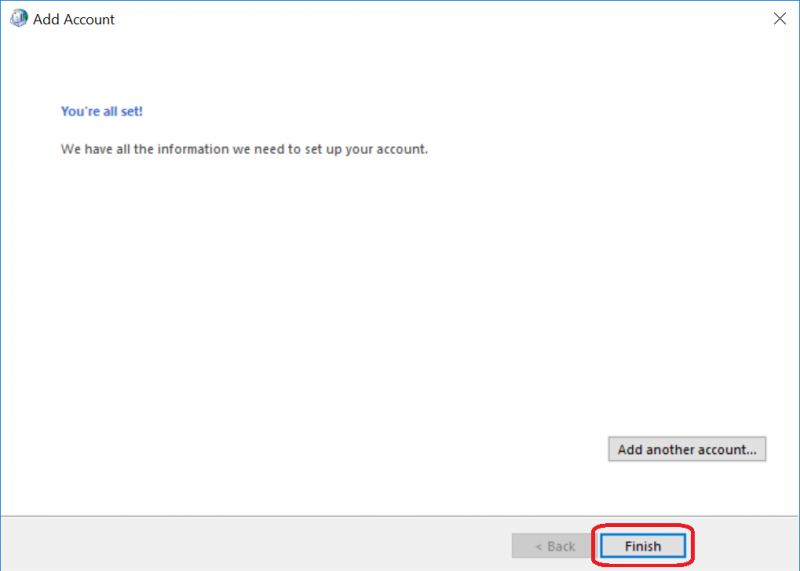
16. Click “Next” and your access will be verified. Once verified click “Close” and “Finish”.
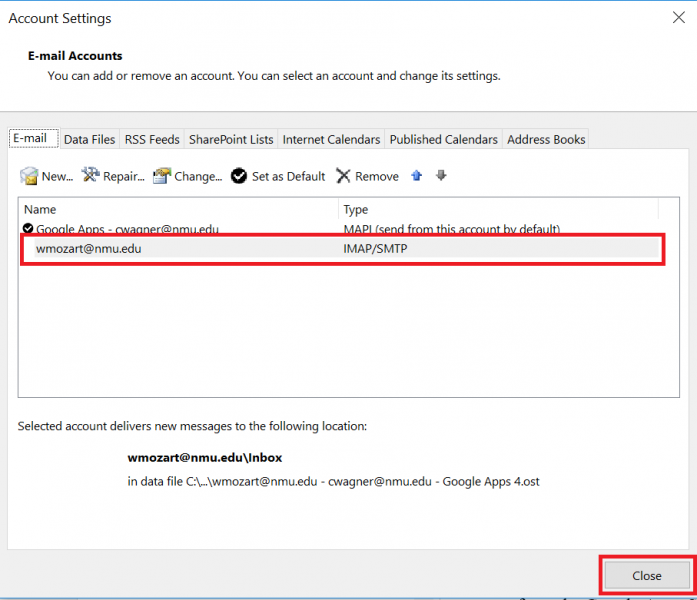
17. Your IMAP account should be displayed in the “Account Settings” window. Click “Close”.
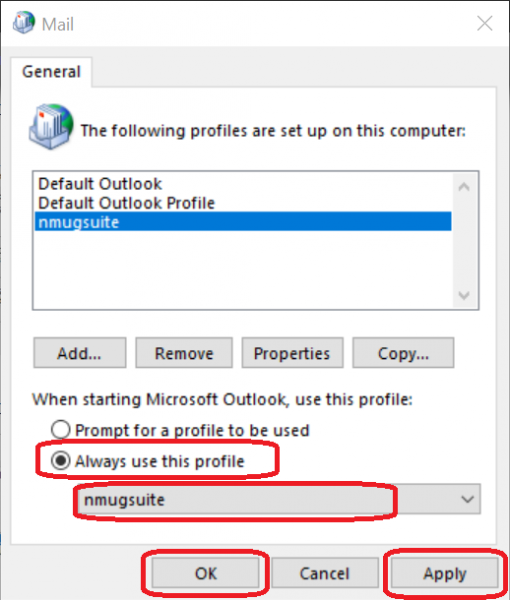
18. At the Mail window, change the pulldown menu choice for the “Always use this profile” field to “nmugusite”. Click Apply and “OK”.
Outlook is now set up to send and receive your NMU G Suite gmail either as the default email client or when using the Microsoft Word mail merge feature.