
Setting up Outlook to send mail using the NMU Mail Gateway
Microsoft Windows uses Outlook as the default email client and for mail merges to email in Microsoft Word. Setting up Outlook to send mail using the NMU Mail Gateway will assure mail merges to email still work and are not restricted by limits on your NMU G Suite account. Please keep in mind items sent this way will not appear in your NMU G Suite account “Sent” label but you can verify what was sent by looking in the Outlook “Sent” folder.
If you don’t use the Microsoft Word mail merge feature you should set up Outlook to access your NMU G Suite account via IMAP so messages are sent when you use the “Send To, Mail recipient” feature in Windows.
The Microsoft Word mail merge to email feature and the “Send To, Mail recipient” feature in Windows will not work unless Outlook is setup to use the NMU Mail Gateway or your NMU G Suite account via IMAP. This is true even if you set up gmail as your default email client.
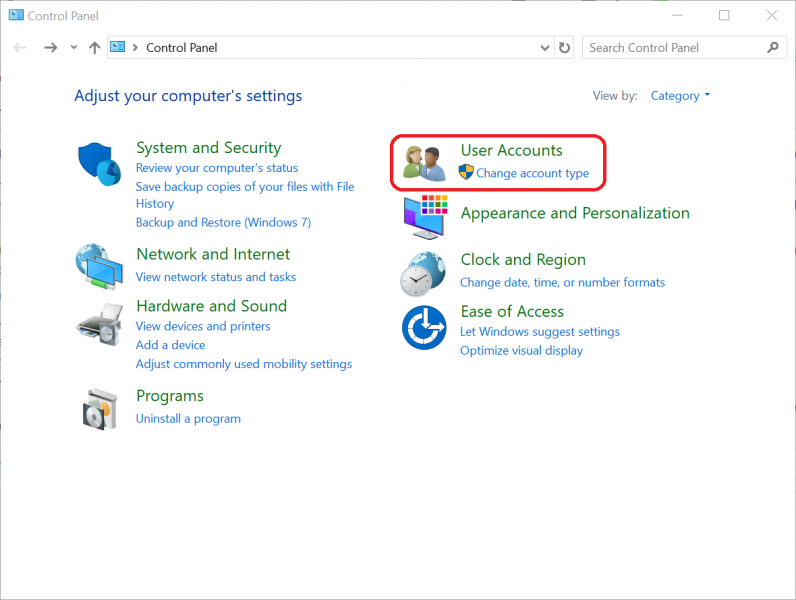
1. From the Windows start menu enter “Control Panel” in the search field and select “Control Panel” from the results.

2. Click on “User Accounts”.
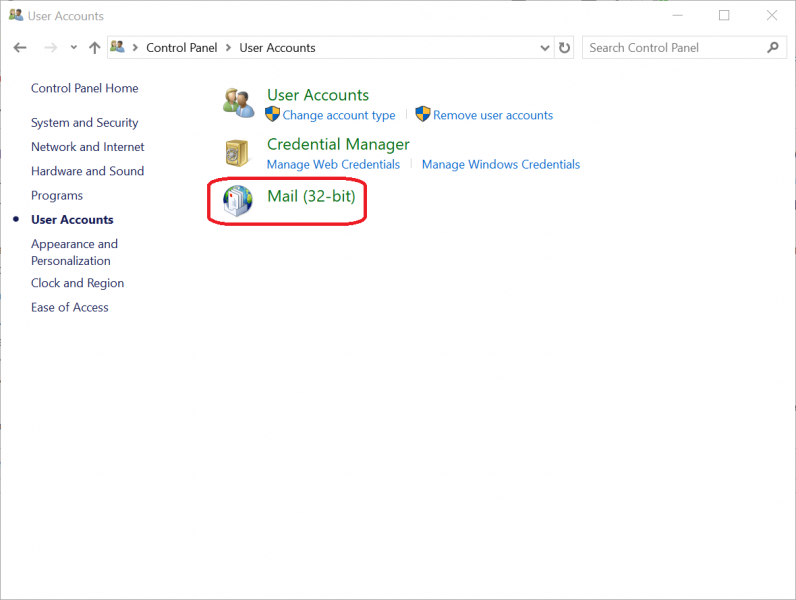
3. Click on “Mail (32-bit)”.
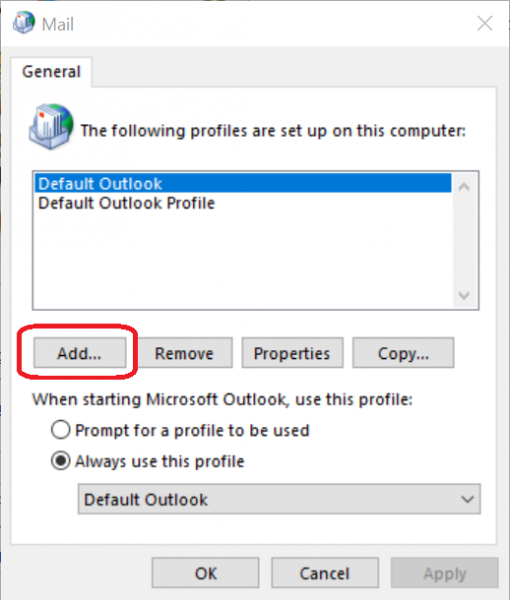
4. Click the “Show Profiles” button.

5. Click the “Add” button.
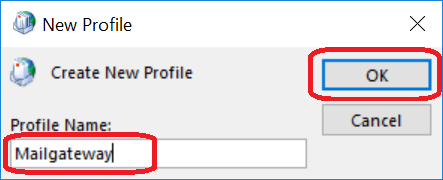
6. In the profile name field type “Mailgateway” and click “OK”.
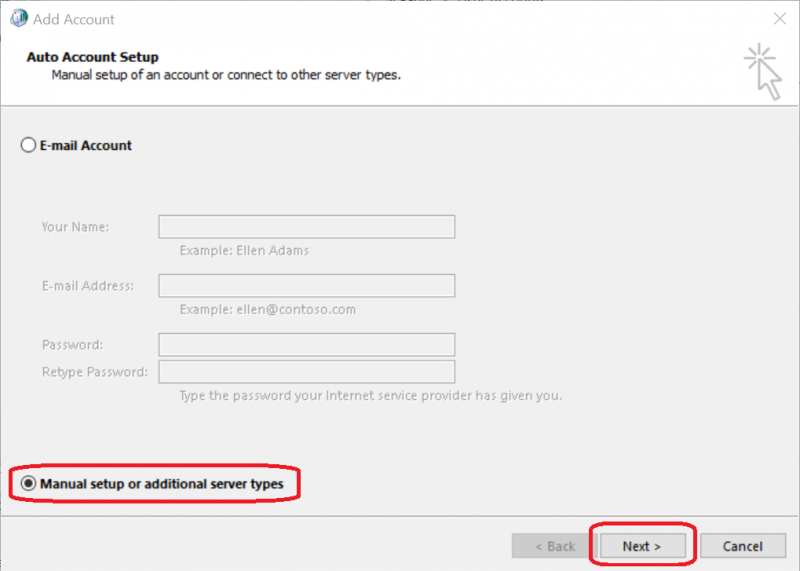
7. Click the “Manual setup or additional server types” button and click “Next”.
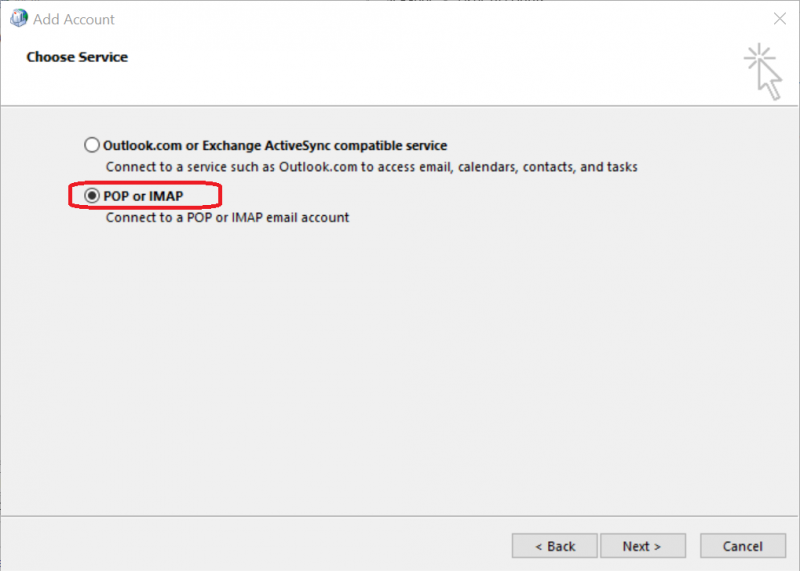
8. Click the “POP or IMAP” option and click “Next”.
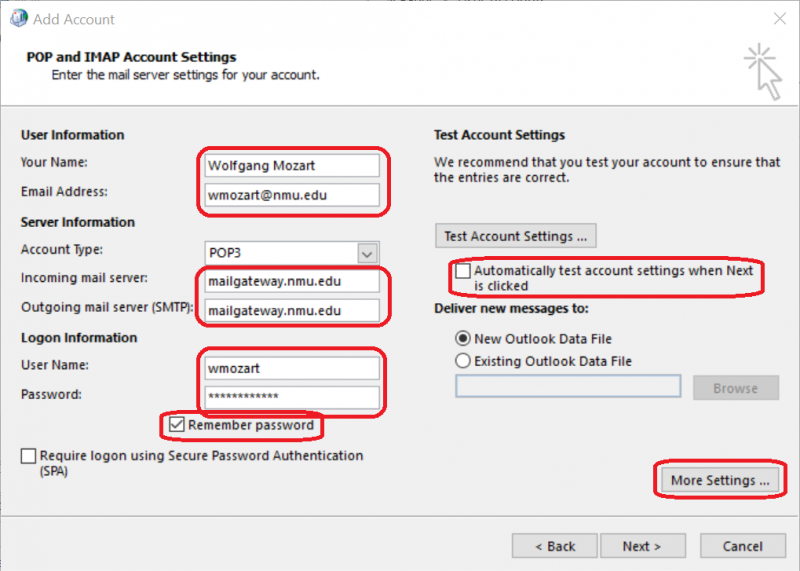
9. Enter your NMU account information (Name, Email Address, mailgateway.nmu.edu for the incoming and outgoing server names, User Name, and password) as shown.
Check the “Remember password” checkbox.
Uncheck the “Automatically test the account settings when Next is clicked” checkbox.
Click the “More Setting …” button.
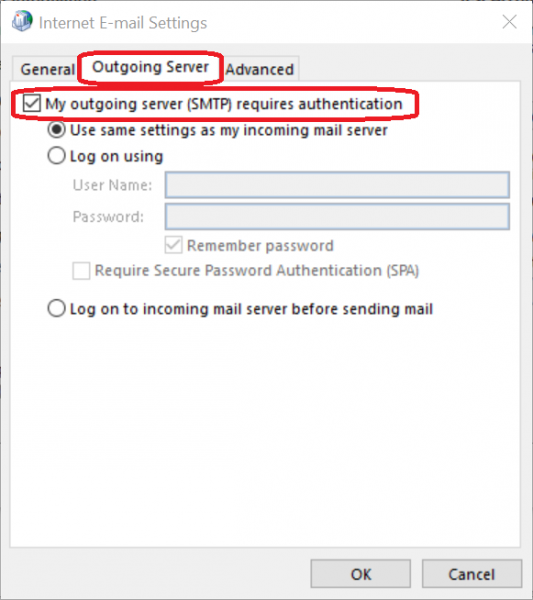
10. In the “Internet E-mail Settings” window, click the “Outgoing Server” tab and check the “My outgoing server (SMTP) requires authentication” checkbox.
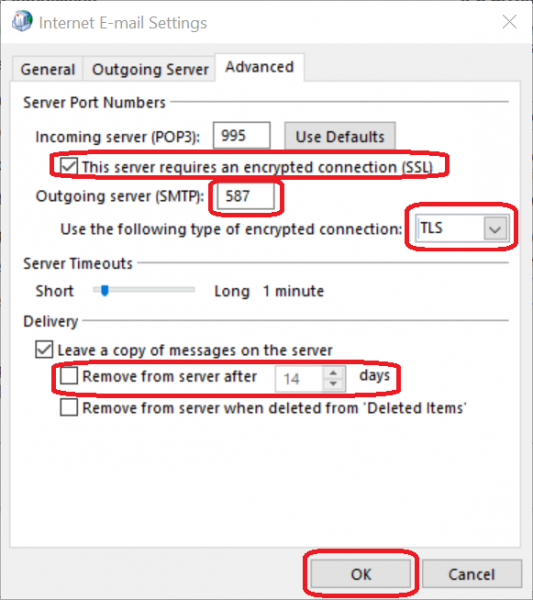
11. Click the “Advanced” tab make the following changes:
Check “This server requires an encrypted connection (SSL)”.
Outgoing server (SMTP): “587”.
Use the following type of encrypted connection: “TLS”.
Uncheck “Remove from server after 14 days ".
Click “OK”.
12. Click “Next”.

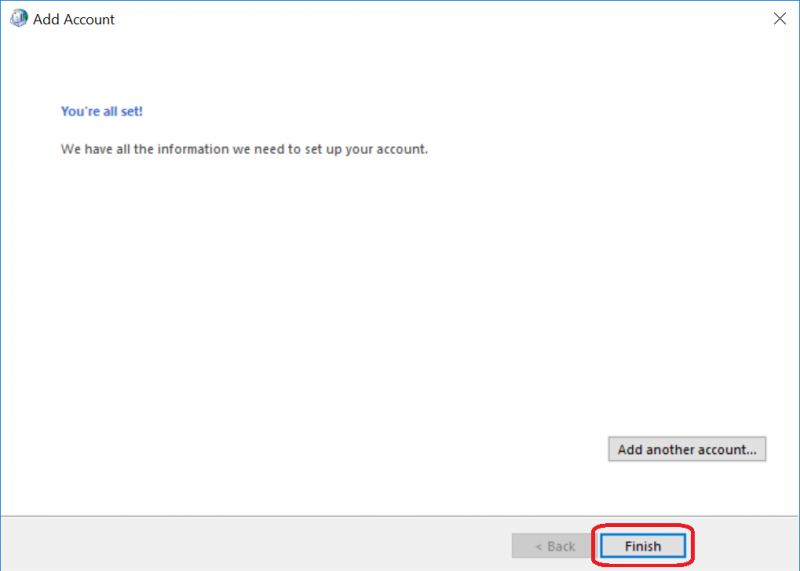
13. A windows stating “You’re all set!” will be displayed. Click “Finish”.
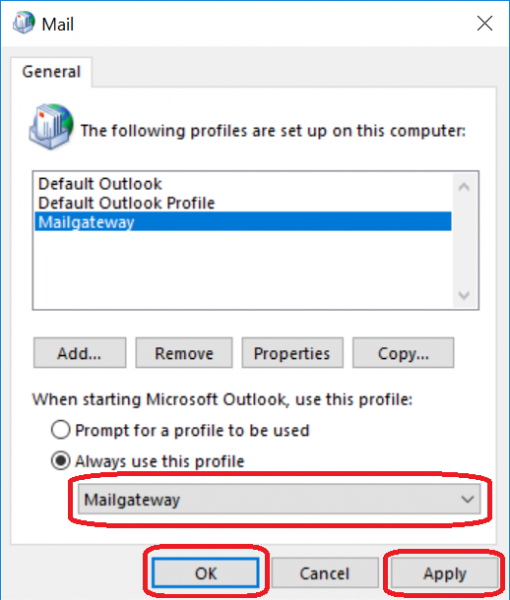
14. At the Mail window, change the pulldown menu choice for the “Always use this profile” field to “Mailgateway”. Click Apply and “OK”.
15. Close the User Accounts window.
Open Outlook.
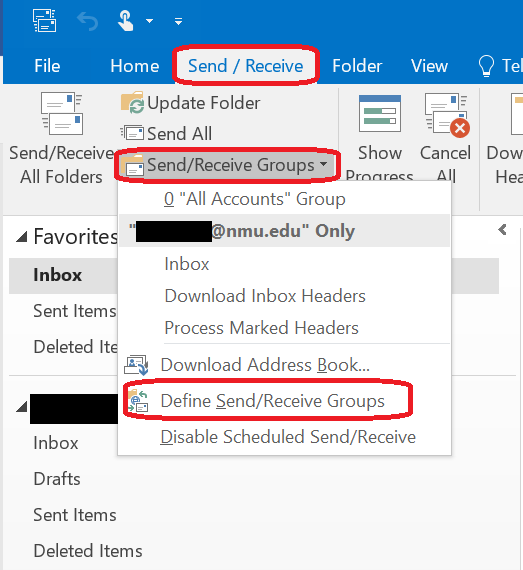
Go to the “Send/Receive” tab, “Send/Receive Groups”, and select “Define Send/Receive Groups”.
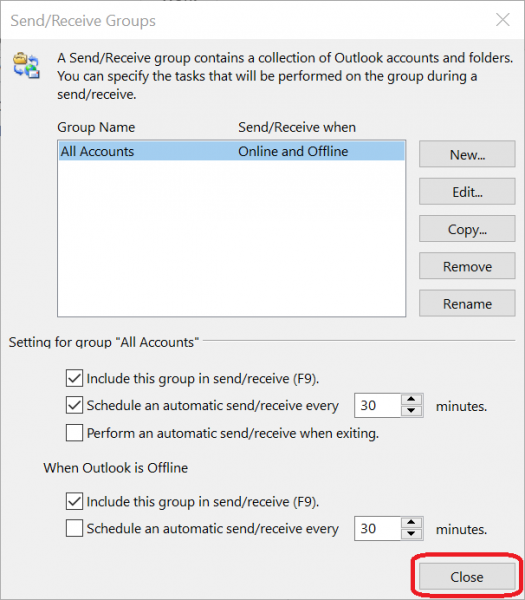
16. Click “Edit”.

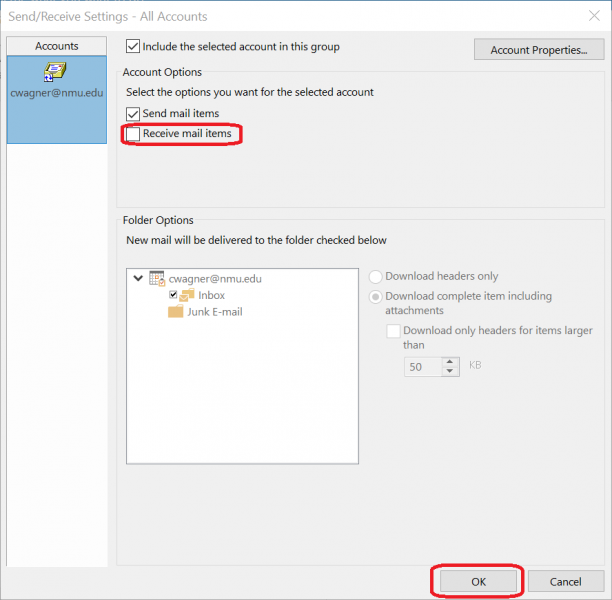
17. Uncheck the “Receive mail items” checkbox and click “OK”.
18. Click “Close”.
Outlook is now set up to send mail either as the default email client or when using the Microsoft Word mail merge feature.