
Setting Up Google Apps Sync
The Google Apps Sync tool creates a “Google Apps” Outlook profile that can be used to access the email, calendars, contacts, and other items available in G Suite and makes them available to you in Outlook. It also sets Outlook to prompt you to select which profile to use when it starts, with the “Google Apps” Outlook profile set as the default, so all you have to do is click "OK" to use Outlook to access your G Suite content.
There are 3 things to keep in mind when using Google Apps Sync:
- Outlook does not provide all the functionality that is available when accessing G Suite using a web browser.
- All mail, contacts, and calendar content will be stored offline on your computer's hard drive and, if you have several gigabytes of mail, may fill up your computer's hard drive.
- Once you run the Google App Sync tool Outlook defaults to using the profile created to access G suite. If you want use Outlook as it was previously set up you will have to select the previous profile, typically named "Default Outlook Profile" in the pull down menu displayed when Outlook starts.
An alternative option to using Google Apps Sync is Adding a gmail account to Outlook using IMAP. This will only provide access to your gmail mail messages but you can adjust how much is stored offline on your computer's hard drive.
1. Run Outlook for the first time on an NMU issued Notebook computer to have it run through the automated process to set up Outlook to access the older Webmail server access.
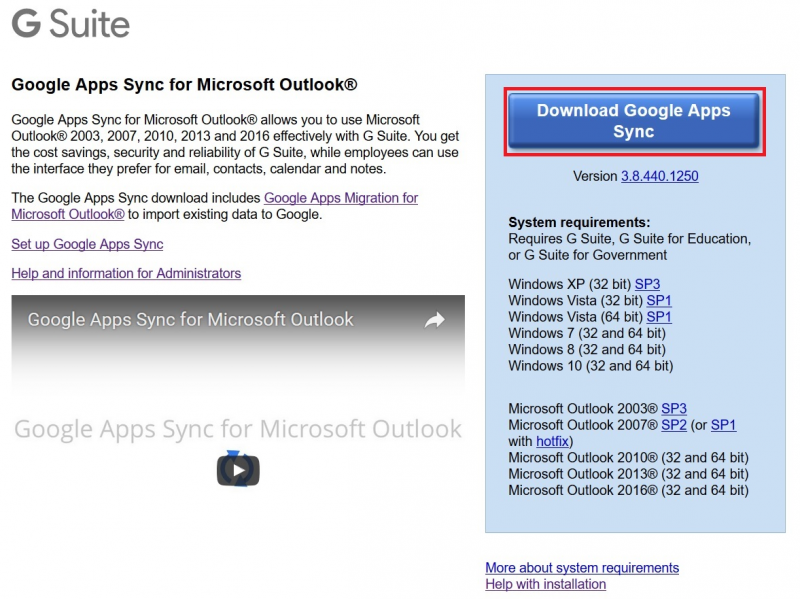
3. Download the Google Apps Sync tool from the Google Apps Sync page by clicking the “Download the Google App Sync” button in the top right of the page.
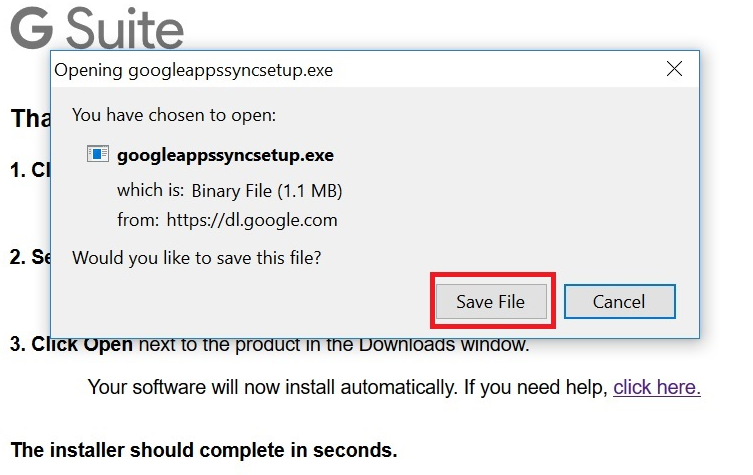
4. If prompted to save the file. Click "Save".
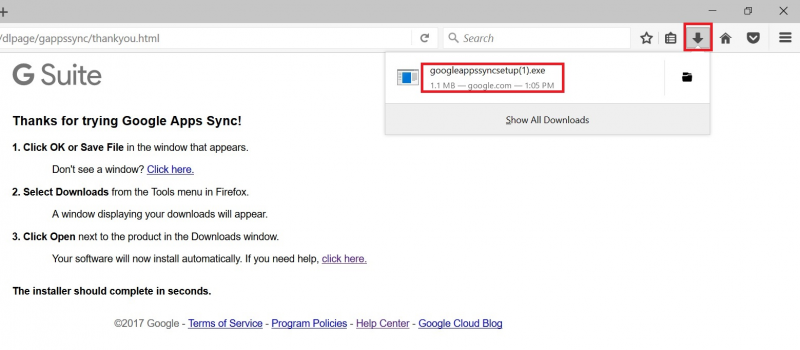
5. The download page will update with instructions. Open the downloads option in your browser and double click the "googleappssyncsetup.exe" file to run the program.
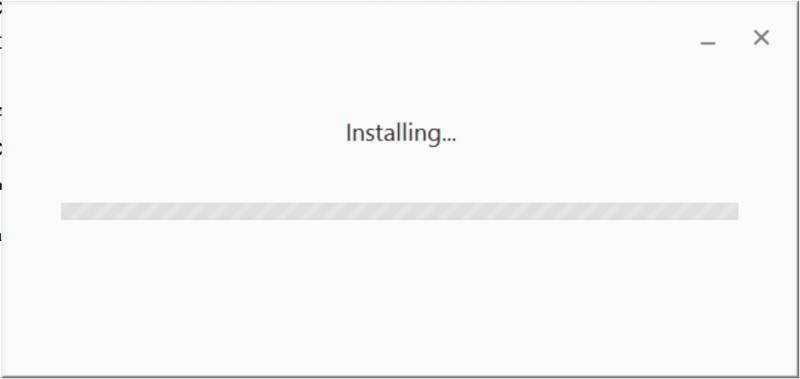
6. You will be prompted to allow the progam to make changes click "Yes". After this an "Installing..." windows will be displayed.
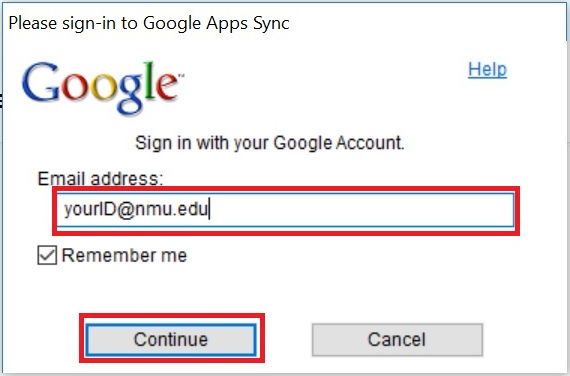
7. You will get a prompt for your G Suite log in, enter your yourID@nmu.edu, click "Continue" and then enter your NMU password if prompted.
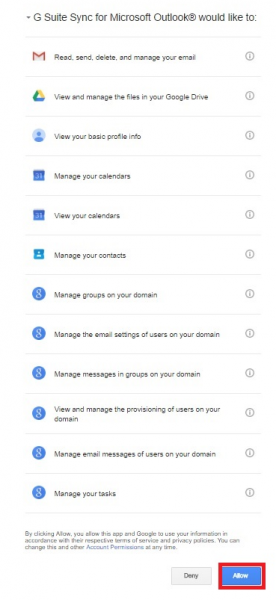
8. You will be prompted to allow "G Suite Sync for Microsoft Outlook" access to a list of information in Outlook. Click "Allow" at the bottom of the list.
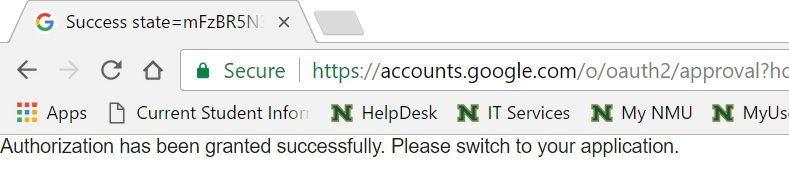
The web page will be updated to “Authorization has been granted successfully. Please switch to your application.”
9. Close the browser window.
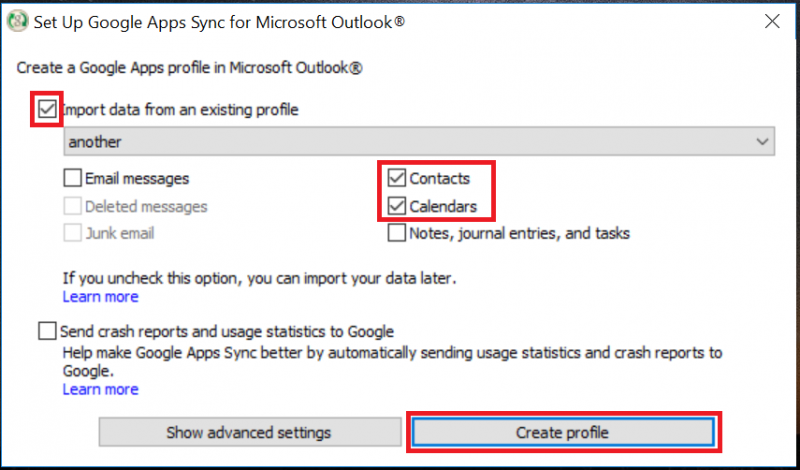
10. You will be prompted for "import" and "crash report" setttings. Check the "Import data from an existing profile" uncheck all but the "Contacts" and "Calendar" checkboxes, and click "Create profile". If prompted in the Google Apps Sync application, select your account in the drop down menu. Uncheck all options and click "Continue".
11. Once the profile is created you will be notified. Click "Start Microsoft Outlook".
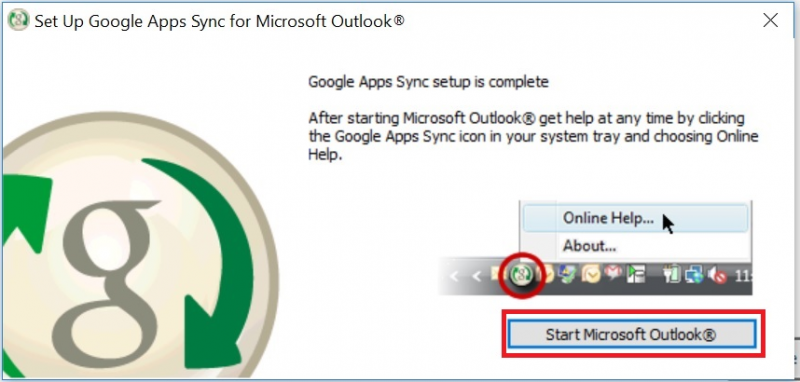
12. Outlook will open, click "OK" to select starting Outlook using the new “Google Apps” Outlook profile.

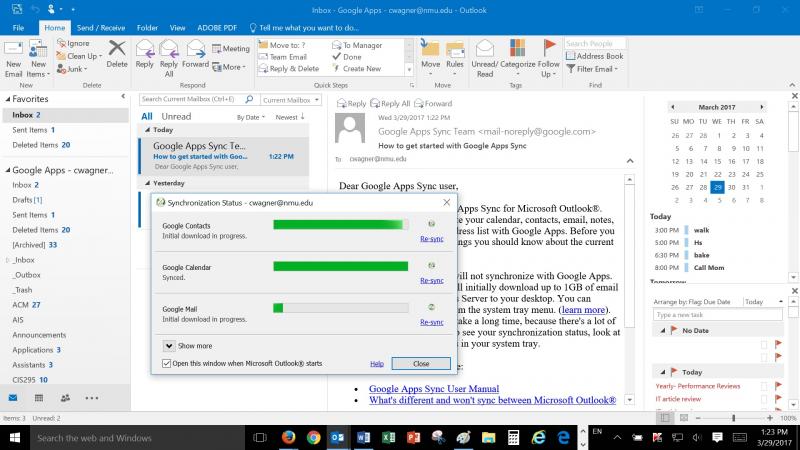
13. You will be notified of the initial sync with your G Suite content. Google Apps Sync will now begin to display all contacts, and calendar events from your NMU G Suite account in Outlook. Wait until it is complete.
14. Close the browser windows and the installation complete window.