
Setting up a Printer in Windows
- The following instructions are for computers running the Windows operating system.
- The NMU network does NOT support wireless printers.
- Setting up Xerox Printers: use v3 Xerox Global Print Driver PostScript.
Xerox Printer Driver
1. Go to this link: https://www.support.xerox.com/en-us/product/global-printer-driver/downloads?language=en
2. Locate the "V3 Xerox Global Print Driver PostScript", check the box for "Agree" and then select "Download".

3. Locate the downloaded "ZIP" folder, right click it, and find the option that says "Extract All..."
Note: Windows 11 may require that you select "Show more options" before you are able to locate the "Extract All..." option.

4. When asked for a location for the extracted files leave the default location unless it's unclear where that is.
- Keep track of where the extracted folder is placed!
5. Follow the steps below for Windows 11 except for Step 9.
- For Step 9 in the Windows 11 instructions, you will need to select "Have Disk" and locate & select the extracted folder we created previously to complete Step 9.
Windows 11
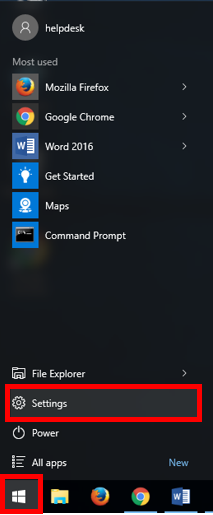
1. From the start menu, select the "Settings" option.

2. Select the "Bluetooth & devices" option from the left hand settings panel.
3. Under the option for "Devices" select "Printers & scanners".

4. Select "Add device"

5. Once the option for "Add a new device manually" shows up, select that. It may take a couple seconds to appear.

6. When the window shows up saying to "Find a printer by other options" select "Add a printer using an IP address or hostname" & select "Next".

7. Click the drop down & select "TCP/IP Device".

8.In the box that says "Hostname or IP address" enter in the IP address of the printer. (Note: the number in the image is only for demonstration). Leave the defaults for the other boxes & select "Next".

9. When it asks to "Install the printer driver" select the printer manufacturer from the list on the left box, and the model number of the printer from the right box (typically located somewhere on the printer). You may have to visit the manufacturer's website to get the correct drivers for your printer.

10. If you get a prompt asking "Which version of the driver do you want to use?" Select "Use the drtiver that is currently installed (recommended)." and select "Next".

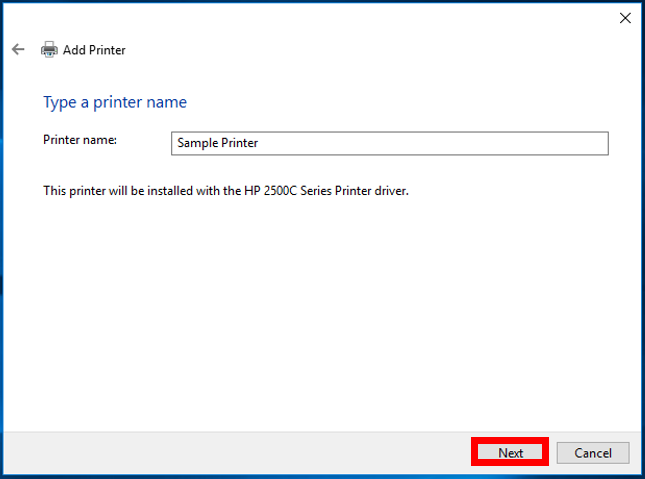
11. Name the printer. You are technically free to name it whatever you want, though usually departments like to assign them names so people know which printer is which. Often the names are located on the printer somewhere. Select "Next" once it is named.

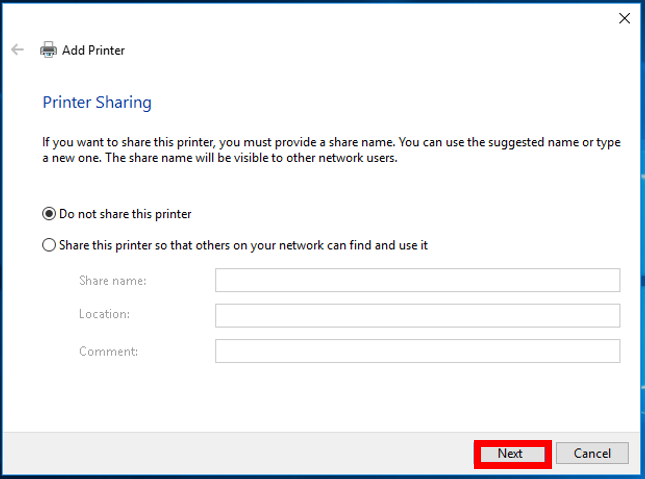
12. After the printer is installed you will see the "Printer Sharing" page select "Do not share this printer".

13. Print a test page to verify functionality. If it works, select "Finish". If it does not work, you may want to remove the printer and start again after Step Three, remove the previously added version from the list of printers, and then continue to Step Four like before. Try a different driver for Step Nine the next time you go through these steps.

Windows 10
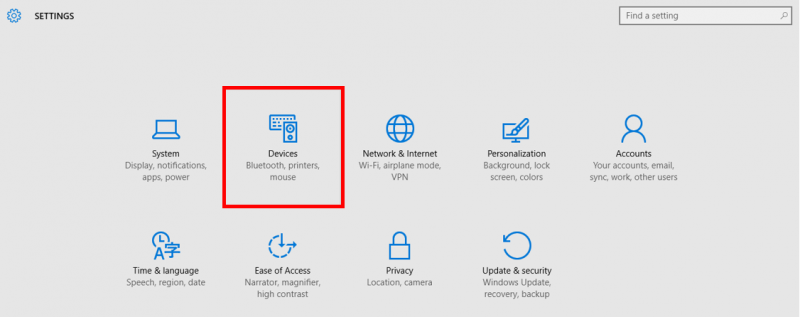
2. Select "Devices."
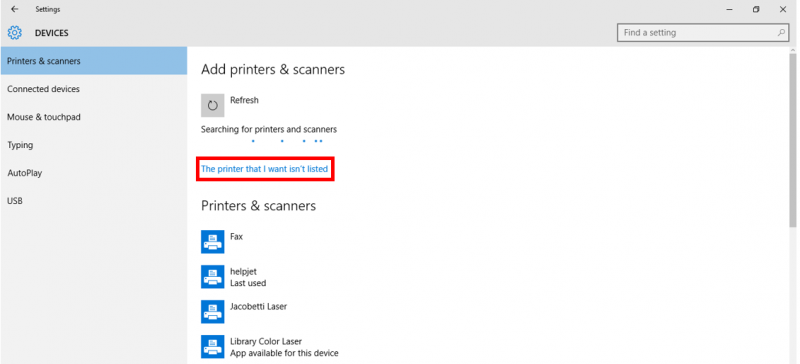
3. Select "Add printer or scanner."

4. Select "The printer that I want isn't listed."
5. Select "Add a local printer or network printer with manual settings" and click "Next."

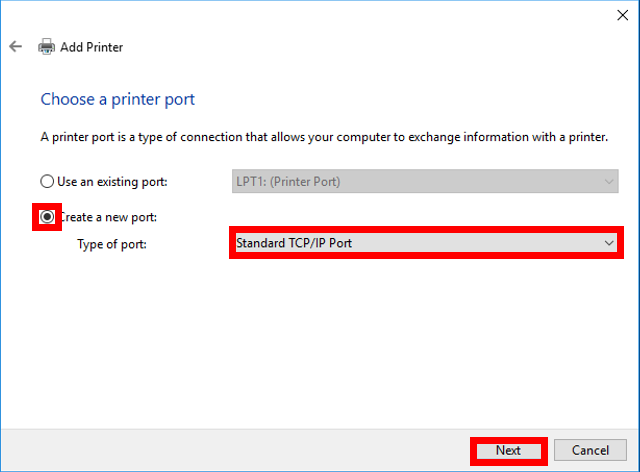
6. Select "Choose a new port" and select "Standard TCP/IP Port."
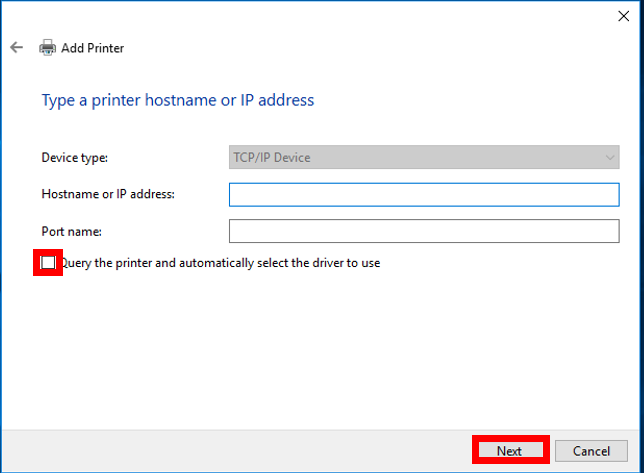
7. Enter enter the host name or IP address of your printer, " Select "Query the printer and automatically select the driver to use," then click "Next."
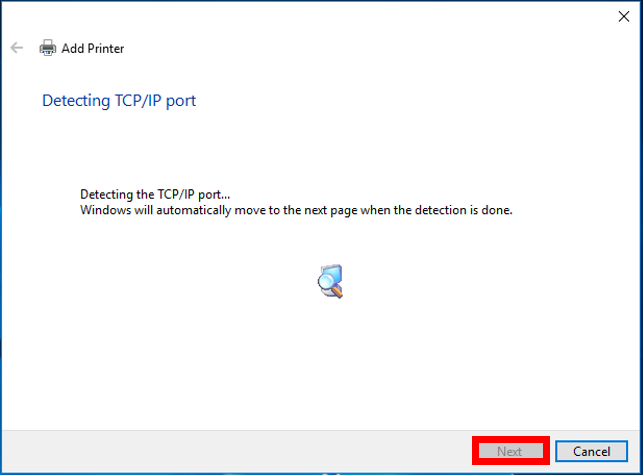
8. It may take a moment to click the port. Click "Next."
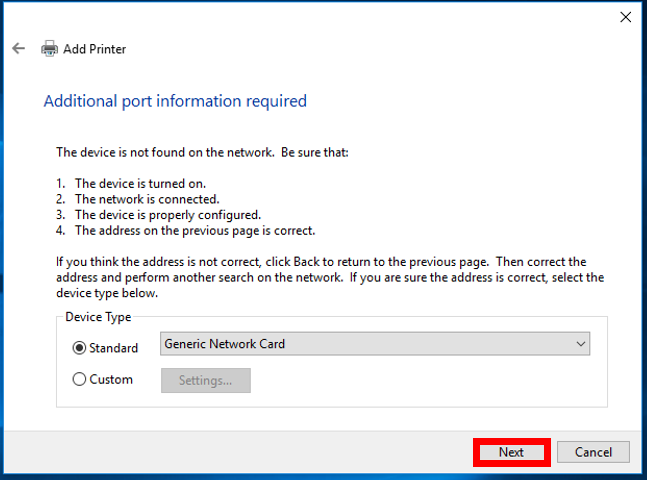
9. You may see this screen. If so, select "Next."
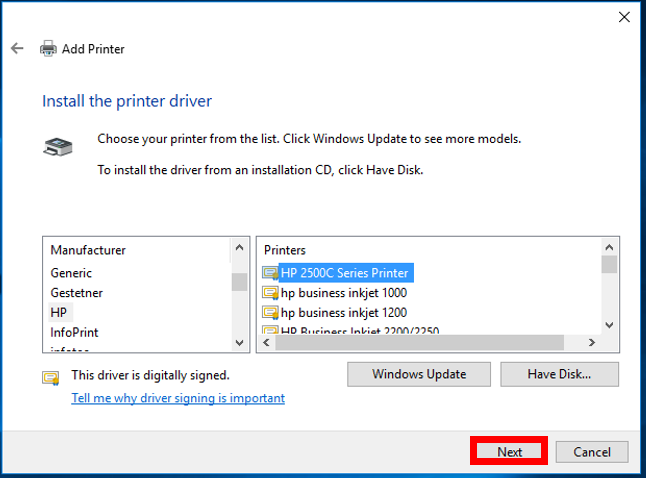
10. Select your printer make and model in the list presented, then click "Next."
- If your printer doesn't appear, click the "Have Disk" option and insert the software disk or download the software from the manufacturer's website.
11. Type a printer name, whatever makes sense to you, and click "Next."
12. The printer will begin installing, in the "Printer Sharing" window, keep "Do not share this printer" selected and click "Next."
13. You may choose to set this printer as your default printer, which will make it the automatically selected printer unless you specify another. Click "Finish."