
Installing and Using Zoom
Installing Zoom for Desktop
Note: Your computer may already have Zoom pre-installed (especially if it is an NMU-issued device). You can check by selecting the Windows search bar and searching for "Zoom".
1. Go to the Zoom Download Center website: https://zoom.us/download.
2. Select the Download for Windows button or MacOS if you are on an iMac/MacBook.
3. Open the downloaded installer file.
4. Agree to any terms or conditions.
5. When prompted to sign in, see the "Signing in to Zoom for Desktop" section.
Signing in to Zoom for Desktop
To sign into Zoom with your NMU account, you will need to do the following:
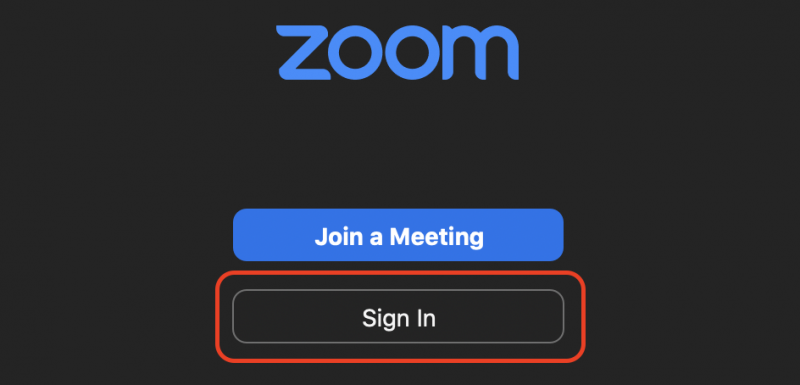
- Launch the Zoom application on your computer
- Select "Sign In"
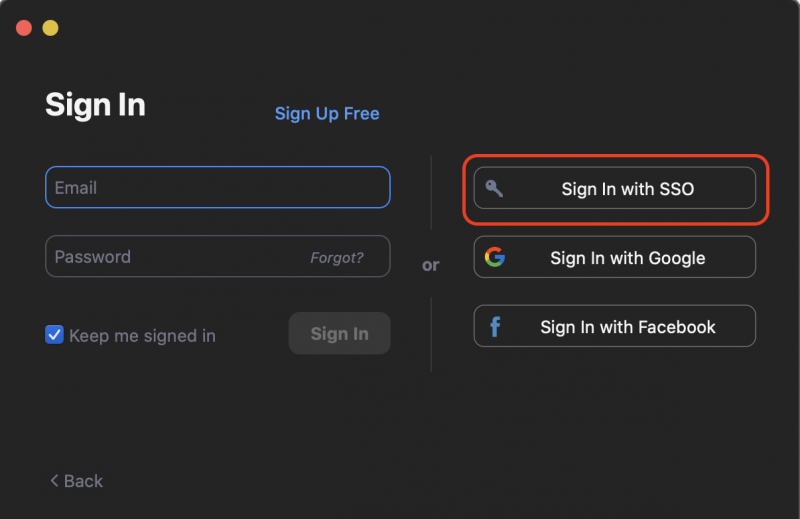
- Select "Sign In with SSO"
- When prompted for your domain, enter NMU
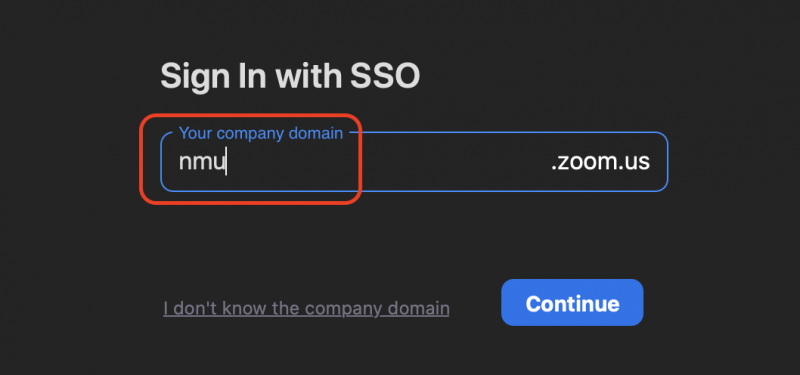
- Click Continue
- You will be prompted to enter your NMU credentials
Joining a Zoom Meeting From a Link or Meeting Code
- Click on the meeting link you were provided. If you were only given a code go to: https://zoom.us/join and enter the meeting code.
- Your default browser will open and prompt you to download and open a file titled “Zoom_launcher.exe”. This will only need to be completed the first time you attempt to connect to a Zoom video meeting.
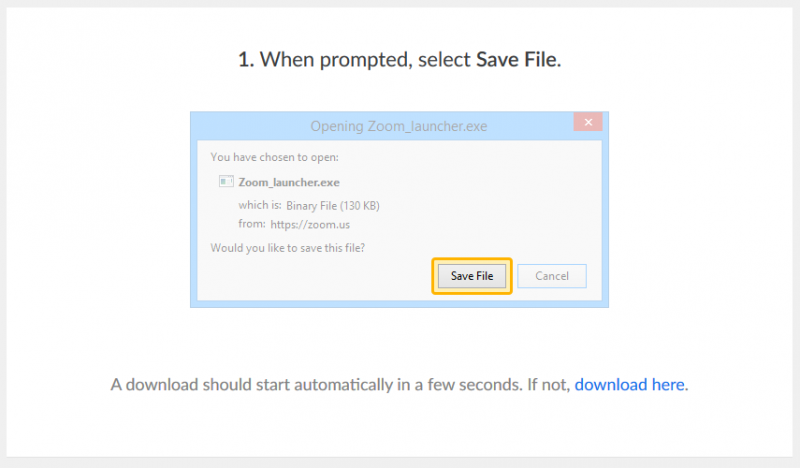
- Follow the onscreen prompts to install the downloaded file. Each browser and operating system treats this differently. Supported browsers and system requirements can be found here: https://support.zoom.us/hc/en-us/articles/201362023-System-Requirements-for-PC-and-Mac
You can also find instruction on using Zoom on your smartphone (Android or iPhone).
- Once installed you will be prompted to enter your name.
- Next click on “Join”.
- The Zoom meeting interface will now open. A window will open to allow you to either “Join Audio” OR “Test Mic & Speaker”. You should select “Test Mic & Speaker” for your first Zoom video meeting.

- Click on “Test Speaker” button to determine that your speakers are working. You should be able to hear a chime. Once complete, click on “Test Mic”. You will notice the button changes to “Recording”. Speak in a natural voice for a few seconds. The button will then change to “Playing”. You should then hear your voice recording played back. Once you’ve successfully tested your microphone and speakers you can close this window.
- Now click the “Join Audio” button in the window. This will allow both your audio and video to be shared in the Zoom video meeting.
- If at any time you want to stop transmitting video and/or audio, you can click on the microphone or camera icon in the bottom left corner of the Zoom interface to temporarily mute either or both.
For more information or tutorials, visit the Zoom Help Center.
If still need assistance, please contact NMU Audio Visual - 906-227-2913 or the Helpdesk - 906-227-2468.
Rate this Article:
Documentation Category: