
Schedule a Detailed Meeting in Outlook
When you create a meeting in Outlook, you are actually creating a meeting request. The request is sent out by e-mail to the prospective meeting participants, who respond by accepting or declining the meeting request or by proposing a new time.
Follow these steps to create a meeting request:
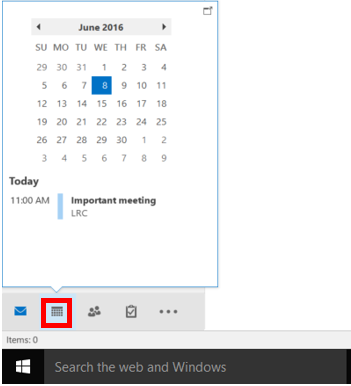
1. Open the "Calendar."
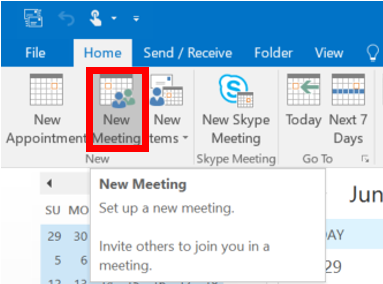
2. On the "Home" menu, click "New Meeting". The meeting dialog box will appear.
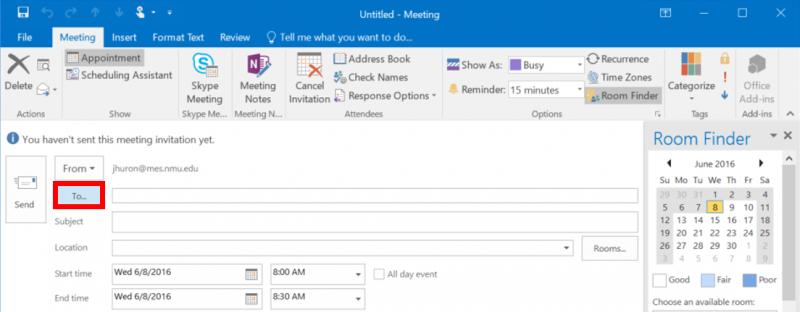
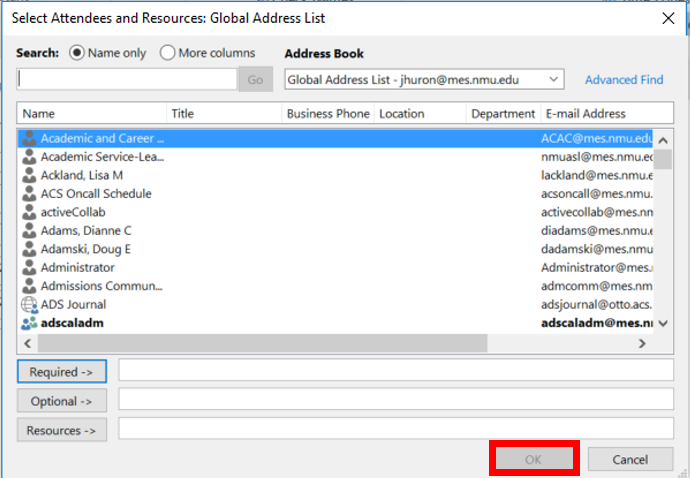
3. Click "To", and a "Select Attendees and Resources" dialog box will appear.
4. Select the people who must attend the meeting and click "Required."
5. If you have people who can optionally attend the meeting, select their names and click "Optional."
6. If you need a resource for the meeting such as a meeting room or piece of equipment, select the resource and click "Resource"
Follow these steps to create a meeting request:
1. Open the "Calendar."
2. On the "Home" menu, click "New Meeting". The meeting dialog box will appear.
3. Click "To", and a "Select Attendees and Resources" dialog box will appear.
4. Select the people who must attend the meeting and click "Required."
5. If you have people who can optionally attend the meeting, select their names and click "Optional."
6. If you need a resource for the meeting such as a meeting room or piece of equipment, select the resource and click "Resource"
Note: You must be set up before resources are scheduled. In Outlook, a resource is treated similarly to a person and has its own calendar. The resource's free/busy status information must be published to make it available to others for scheduling. Often, a person serves as the coordinator for each resource and responds to meeting requests on behalf of the resource.
7. Click "Ok."
8. Enter a subject in the "Subject" field.

9. Enter the location in the "Location" field.
10. Click the "Scheduling Assistant" tab.
11. Select a free block of time for the meeting. Please view the "Suggested Times" and calendar on the right of the window for a time and/or times that all or the majority of individuals are free.

12. Click on the "Appointment" button. In the open space below, type in any notes and/or comments.
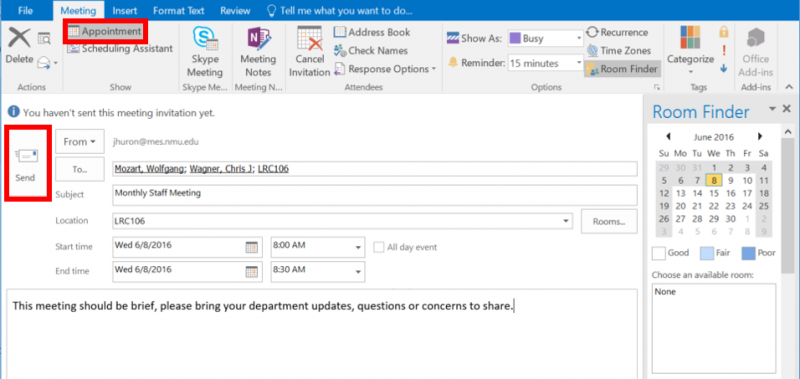
13. Click "Send", and Outlook will send the meeting request to the specified recipients.
8. Enter a subject in the "Subject" field.
9. Enter the location in the "Location" field.
10. Click the "Scheduling Assistant" tab.
11. Select a free block of time for the meeting. Please view the "Suggested Times" and calendar on the right of the window for a time and/or times that all or the majority of individuals are free.
12. Click on the "Appointment" button. In the open space below, type in any notes and/or comments.
13. Click "Send", and Outlook will send the meeting request to the specified recipients.
Rate this Article:
Keywords: