ThinkPad Thunderbolt 3 Dock Set Up
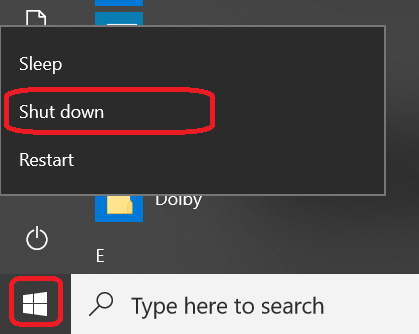
1. Do a complete shut down of your computer by holding down shift key when selecting “Shut down” from the Windows menu.
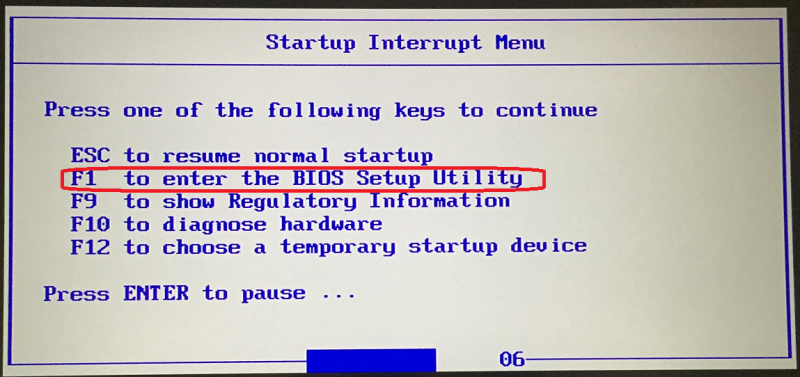
2. Power on the machine and at the red Lenovo screen press "Enter" to get the boot up menu, then press "F1" to get into the BIOS menu.
3. Once in the BIOS menu, go to use arrow keys to get to "Configure" -> "Thunderbolt ™3".
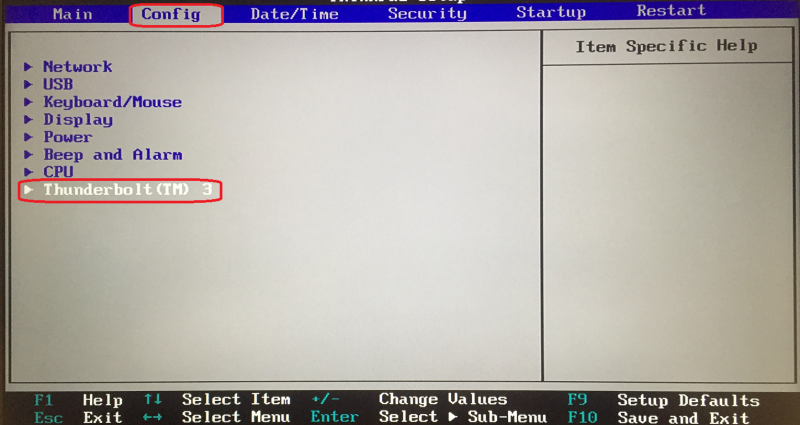
4. Change the "Thunderbolt in BIOS Assist Mode" to “Enabled". Change the "Security Level" to either "No Security". This allows the eGPU to be plugged in to the Gen 6 without Windows errors.
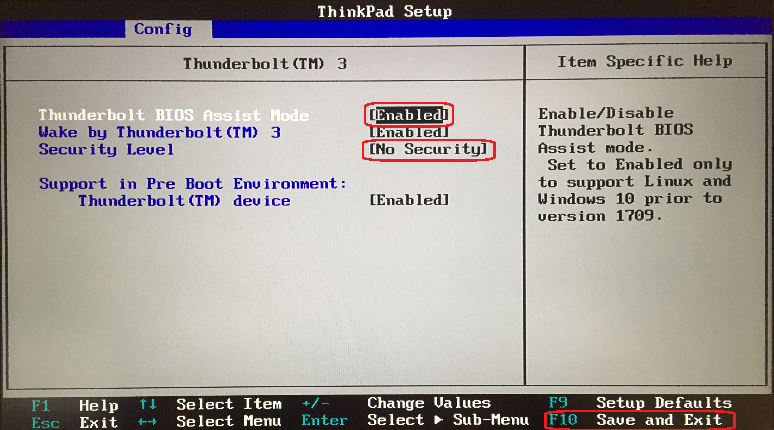
5. Press F10 to "Save and Exit" and then click “Yes” to exit the BIOS.
6. Start the computer and boot into Windows.
7. Plug in the ThinkPad Thunderbolt 3 Dock eGPU and AC power connection.
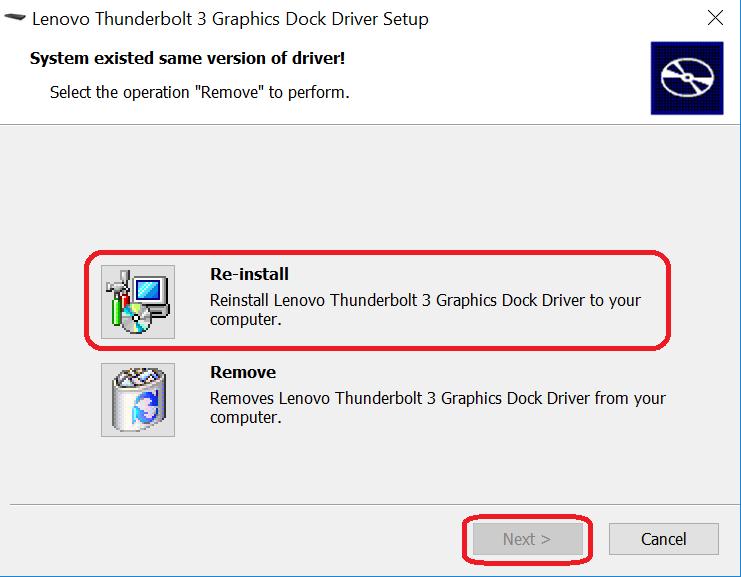
8. Download and run the “ThinkPad Thunderbolt 3 Dock” eGPU driver from the https://it.nmu.edu/downloads page. When this driver installation is run it may only give you the option to reinstall. If so choose "reinstall". This driver allows Windows to recognize the ThinkPad Thunderbolt 3 Dock eGPU as the "NVIDIA GeForce GTX 1050" in the Windows device manager.
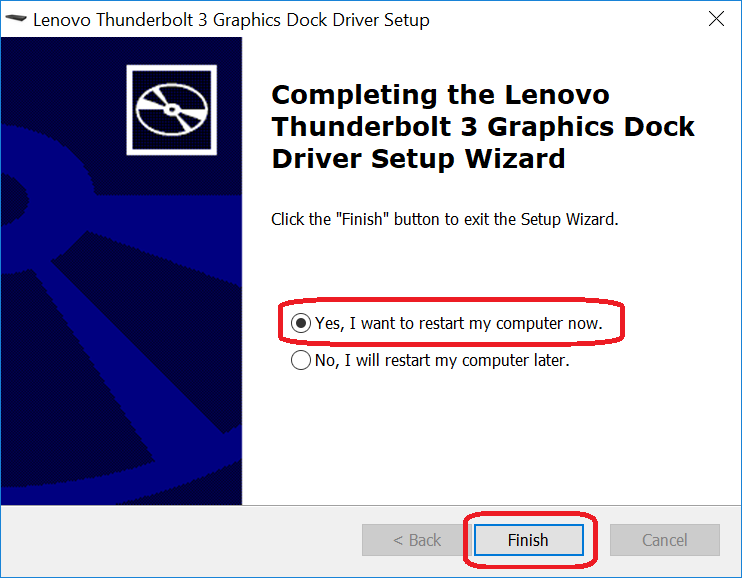
9. The installer will prompt for a restart. Restart the computer.
10. You may be prompted to "Accept the Device", choose "Accept".
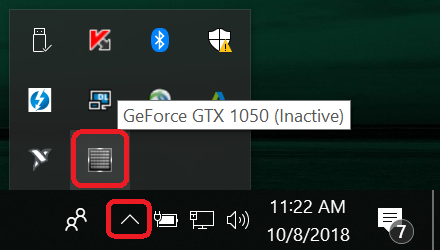
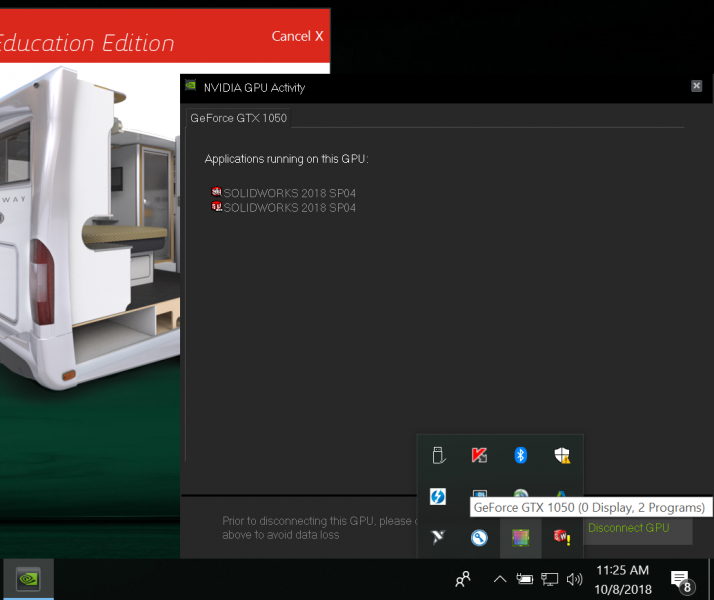
11. Verify that the "GeForce GTX 1050" application icon is available in the Windows system tray in the bottom right of the Window. This application can be used to verify what software such as SolidWorks is using the ThinkPad Thunderbolt 3 eGPU Dock. The icon will be gray if no programs are using the dock and colorful if programs are. Clicking the icon will give you further details. If the "GeForce GTX 1050" application icon isn't available assure the ThinkPad Thunderbolt 3 Dock eGPU is powered up and showing an orange or green light, connected to the Thunderbolt port on the the ThinkPad, and restart Windows.