
CAD Printer Install Instructions
This documentation will walk you through installing the CAD printer onto your computer. This guide also assumes that you are using the most up-to-date version of the Windows 10 operating system
First off we'll need to navigate to the printer settings of your computer. You can do this by:
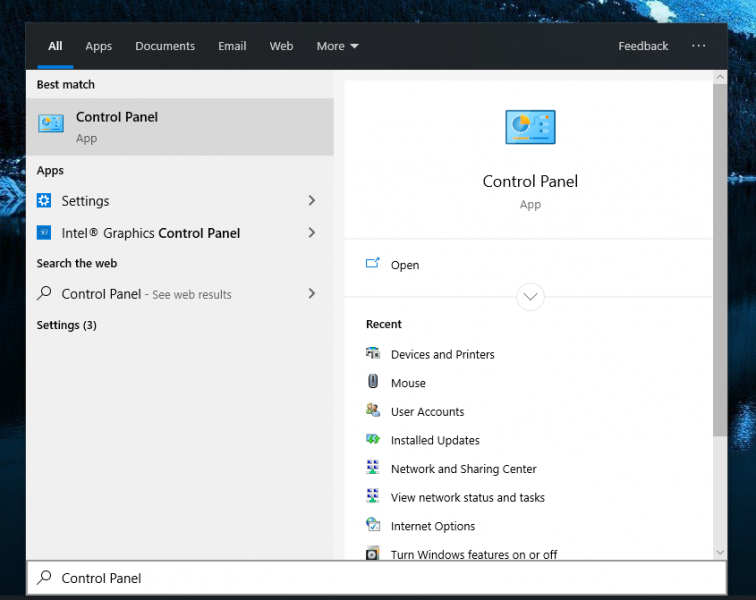
- Going to the 'Start' menu > search 'Control Panel'
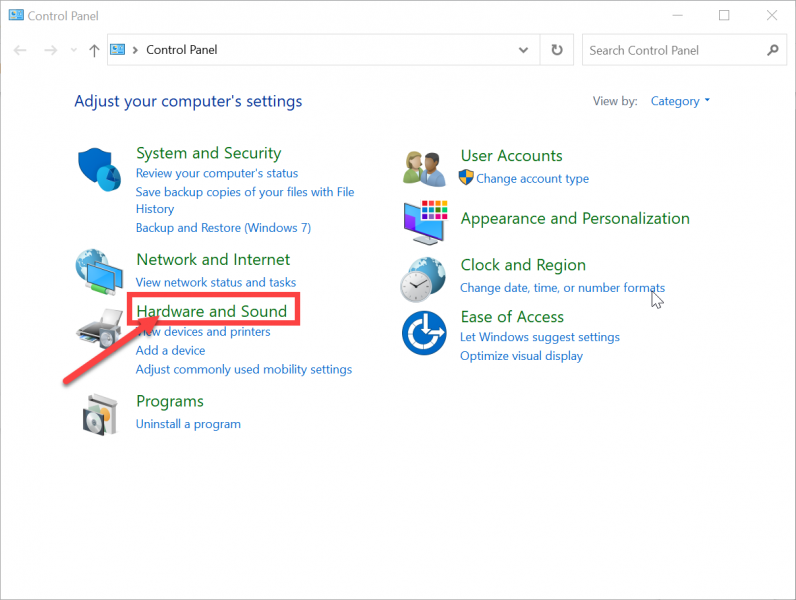
- Select 'Hardware and Sound'.
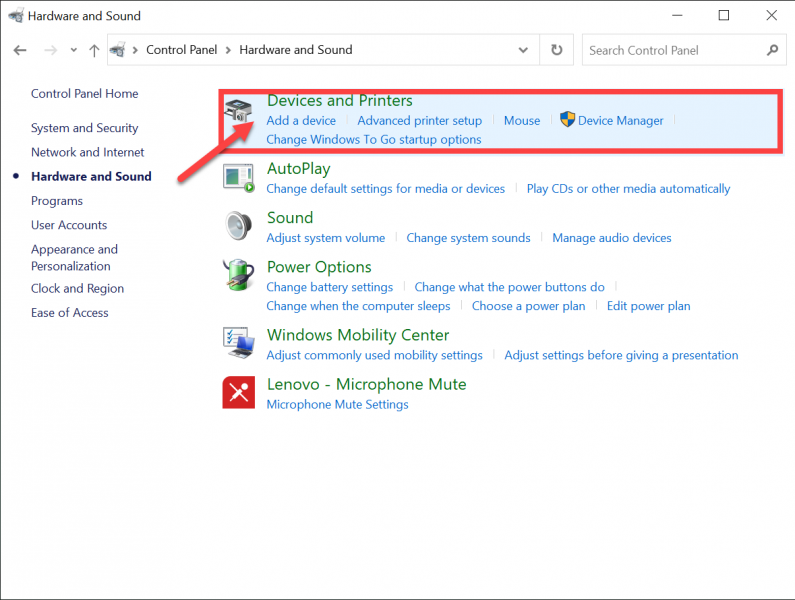
- Select 'Devices and Printers'.
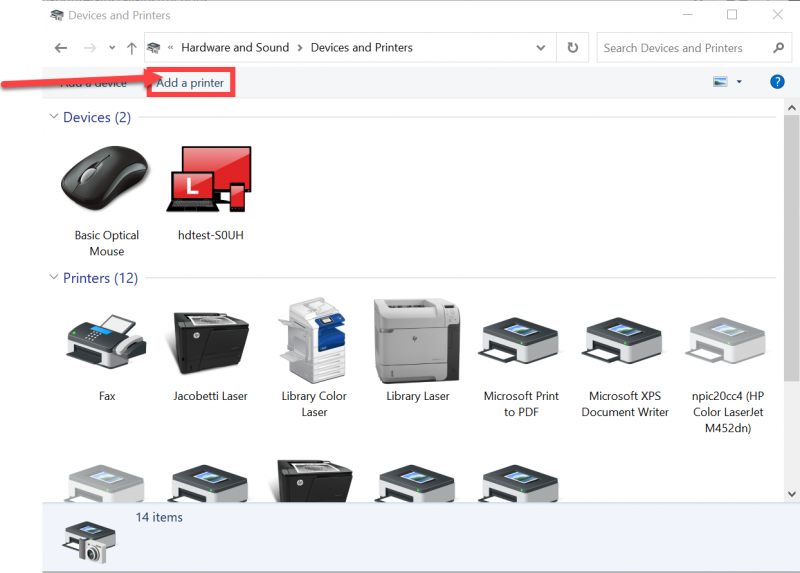
- Select 'Add a printer' near the top left of the Devices and Printers window.
- After you select the option to 'Add a printer', a smaller window will appear. On this window you will see the option 'The printer that I want isn't listed' in blue colored text, click this.

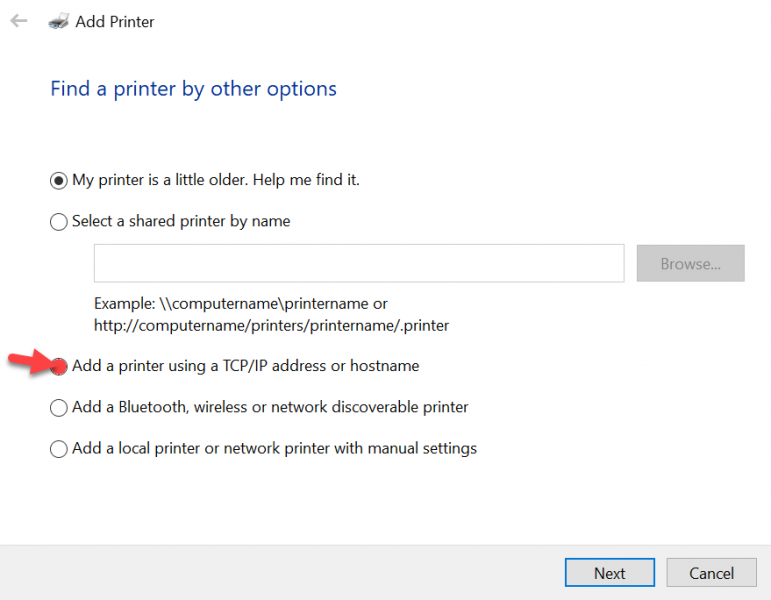
- A new smaller window will appear, select the radial option 'Add a printer using a TCP/IP address or hostname' and click 'Next'.
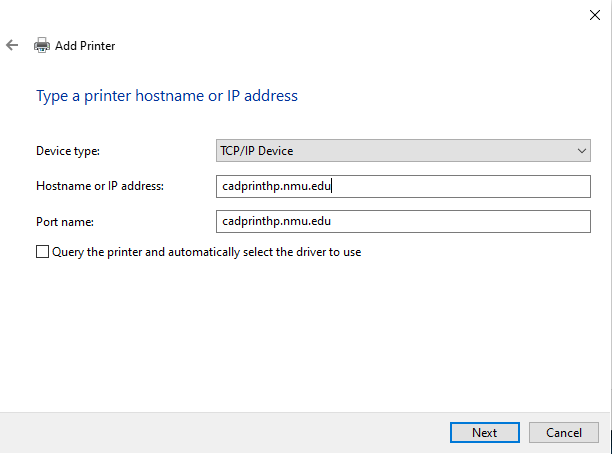
- For Device Type choose 'TCP/IP Device'. For Hostname or IP address enter 'cadprinthp.nmu.edu'. The Port Name will automatically fill. Deselect the checkbox 'Query the printer and automatically select the driver to use'. Finally, click 'Next'.
- Next, you will be taken to a screen and asked to specify a print driver. The driver that you will choose is 'HP Color LaserJet CP5520 series PCL 6'. NOTE: This IS NOT the correct driver but we need to install one here in order to proceed. We will install the correct driver later in this walkthrough. If you cannot find the specified driver then try clicking the 'Windows Update' button to fetch newer drivers.
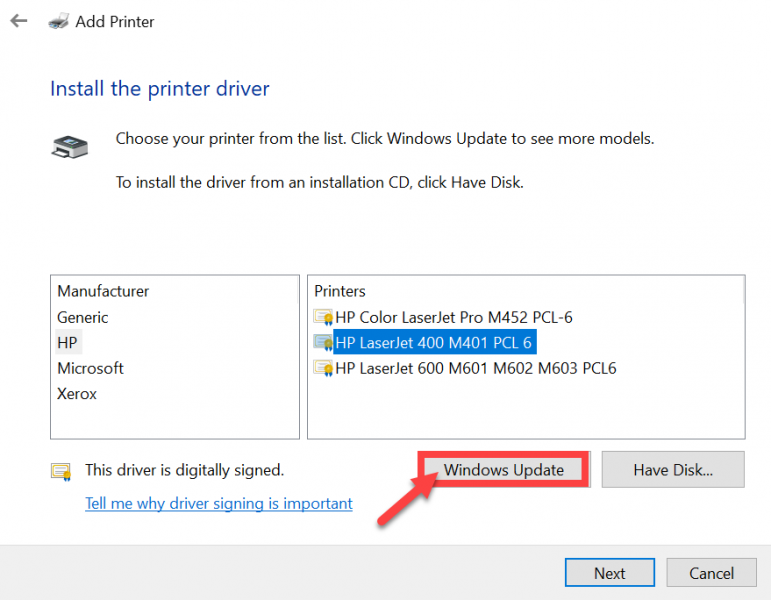
- Once the Windows Update has fetched the newer drivers, you should be able to locate the new HP driver from the list. Select 'HP Color LaserJet CP5520 series PCL 6'.

- Finaly, we can create a name that the printer will be displayed as.

Rate this Article:
Documentation Category: