
Adding a POP Account to an Existing Outlook Profile
The instructions below integrate your existing Outlook set up with an additional email account so all your email exists in one profile. Please open Outlook once so the NMU default settings are installed and then exit Outlook before continuing..
Note: In order to add your exchange account to an existing default Outlook profile Microsoft Outlook needs to be closed.
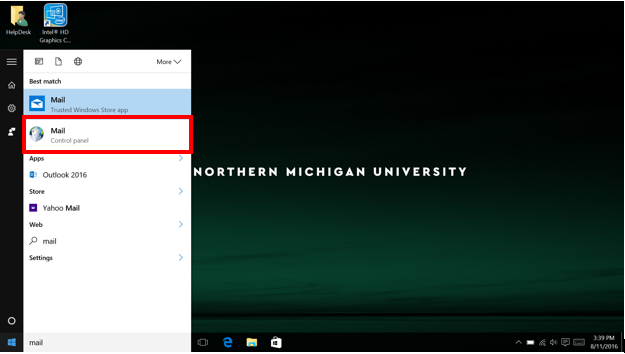
1. With Outlook closed, open the "Mail" settings by searching in the search bar, from the Start menu, or in the control panel.
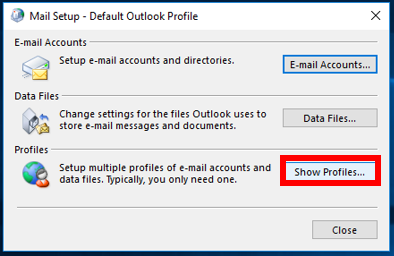
2. Select the "Show Profiles" button.
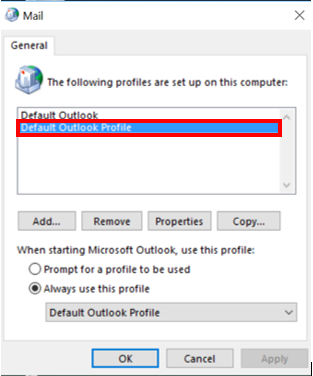
3. In the list in the center of the new window, double click the profile you'd like to add an email account, this is typically your “Default Outlook Profile”. A window will open.
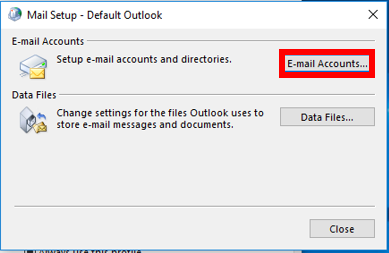
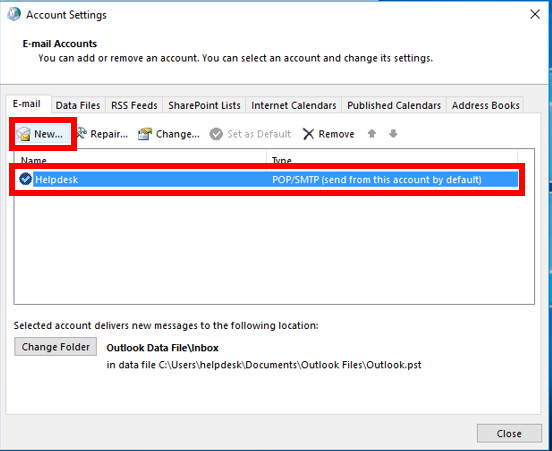
4. Select "Email Accounts."
5. Select your email account to highlight it, then select the "New" button.
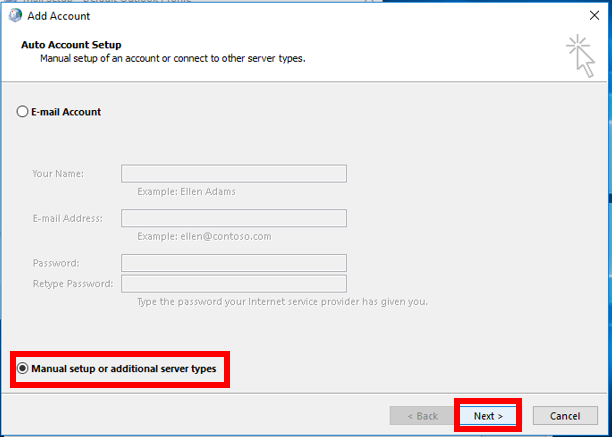
6. Select "Manual setup or additional server types", then click "Next" and select "POP or IMAP."
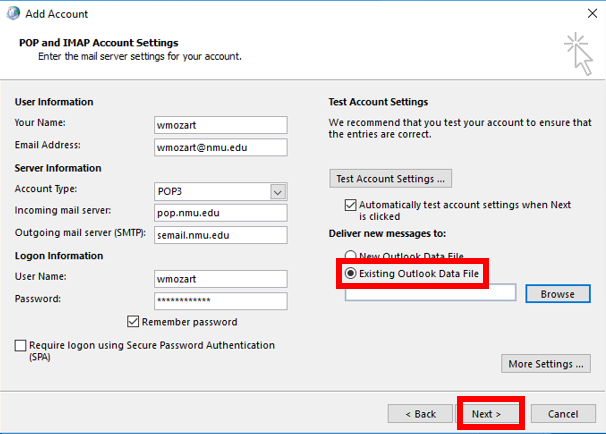
7. Enter your name, email address, username and password. If you are setting up a POP account, select "POP3" from the drop-down menu, and enter pop.nmu.edu and semail.nmu.edu in the incoming and outgoing server fields respectively. If you are setting up an IMAP account, select "IMAP" from the drop-down menu and enter imap.nmu.edu in the incoming server field instead. Select "Next" when you are finished.
2. Select the "Show Profiles" button.
3. In the list in the center of the new window, double click the profile you'd like to add an email account, this is typically your “Default Outlook Profile”. A window will open.
4. Select "Email Accounts."
5. Select your email account to highlight it, then select the "New" button.
6. Select "Manual setup or additional server types", then click "Next" and select "POP or IMAP."
7. Enter your name, email address, username and password. If you are setting up a POP account, select "POP3" from the drop-down menu, and enter pop.nmu.edu and semail.nmu.edu in the incoming and outgoing server fields respectively. If you are setting up an IMAP account, select "IMAP" from the drop-down menu and enter imap.nmu.edu in the incoming server field instead. Select "Next" when you are finished.
- If you would like the email for this account to be saved in the same location, select "Existing Outlook Data File" and select the data file for your existing mail account. This will likely be called "Outlook.pst" unless you or someone set it up differently.
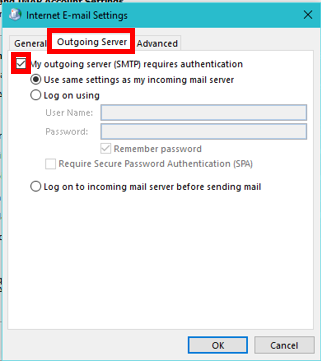
8. Click the "More Settings" button.
9. In the "Outgoing Server" tab, check "My outgoing server requires authentication."
10. In the "Advanced" tab, enter the following settings:
- Check "This server requires and encrypted connection (SSL)
- Incoming server (POP3): 995
- Outgoing Server (SMTP): 587
- Select "TLS" for "Use the following type of encrypted connection"
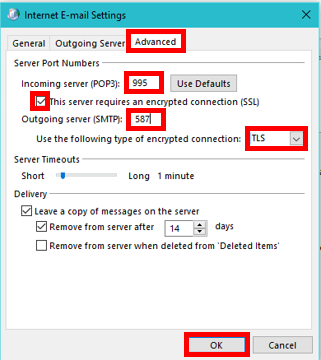
11. Click "OK" to close this window, then click "Next."
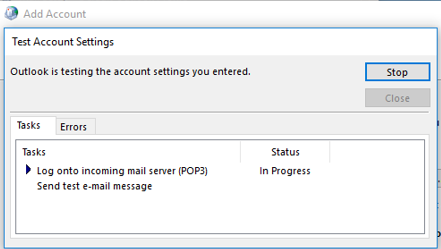
12. The "Test Account Settings" window will now open. If all the information is correct in the previous window both should say "Completed." Click "Close" to close this window.
13. A window should appear saying "You're all set!" You may now click the "Finish" button and open Outlook.

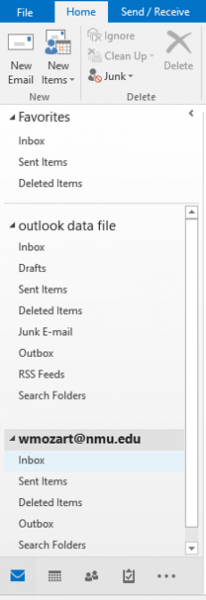
14. In Outlook, you should now be able to see your second email account, if you had chosen to save the mail in a different Outlook data file, in the folder navigation pane to the left.
Rate this Article: