
Troubleshooting Wireless Network Connections
These steps will help you troubleshoot wireless connectivity problems on a Windows computer. Though these steps use Windows 10, the instructions are similar for earlier versions.
1. If you're troubleshooting an on-campus WiFi connection and don't have internet access, ensure you are registered on the network. Learn how to register here.
2. If you're unable to connect or see connections, your WiFi might be disabled.
2. If you're unable to connect or see connections, your WiFi might be disabled.
- This is the icon you'll see on the taskbar if it's disabled:

- This is the icon you should normally see:

3. First, right click the WiFi connection icon and select "Network Settings."

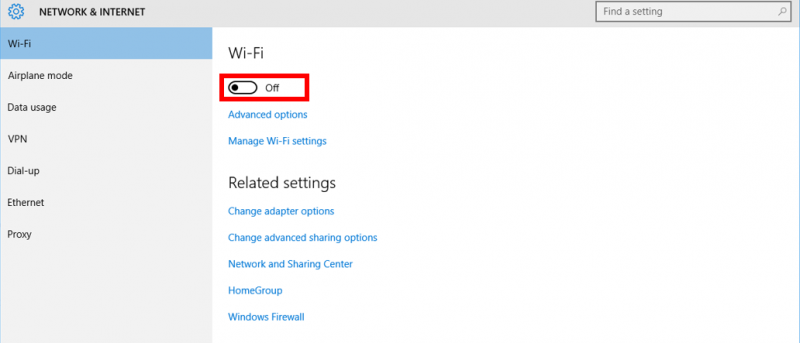
4. Ensure that WiFi isn't turned off. If so, click the switch icon to turn it on.
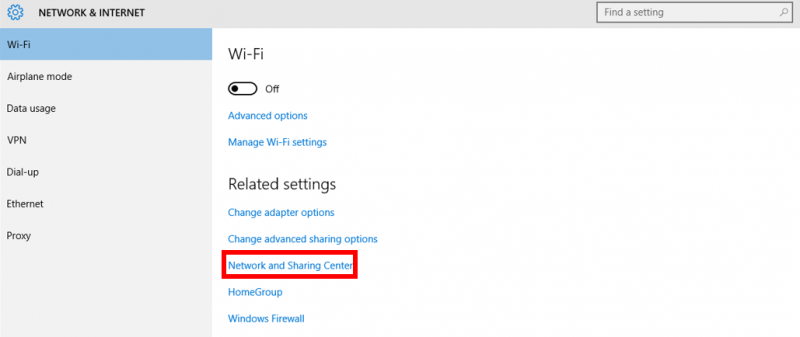
5. If WiFi won't turn on or is already on and still doesn't work, click the "Network and Sharing Center" link in this window.
6. Right click the WiFi adapter and select "Disable" from the drop-down menu.

7. Wait ten seconds, then right click the adapter again and select "Enable."

8. If you still can't connect, please contact the HelpDesk (906-227-2468) for further troubleshooting assistance.
4. Ensure that WiFi isn't turned off. If so, click the switch icon to turn it on.
5. If WiFi won't turn on or is already on and still doesn't work, click the "Network and Sharing Center" link in this window.
6. Right click the WiFi adapter and select "Disable" from the drop-down menu.
7. Wait ten seconds, then right click the adapter again and select "Enable."
8. If you still can't connect, please contact the HelpDesk (906-227-2468) for further troubleshooting assistance.
Rate this Article:
Documentation Category: